 TrueNAS virtualization panel item
We’re now ready to install a Linux VM of our choice. For the sake of ease just use a Debian derivative. I prefer Arch for most things, but not this application. If you’re not comfortable without a gui, select a lightweight distro i.e. Linux Mint.
Download latest debian image from 🌎Debian.org or 🌎Linux Mint
We’re going to use Linux Mint for the sake of using the GUI installer for PHP-Point of Sale. This is not necessary, you can also do this in text mode.
TrueNAS virtualization panel item
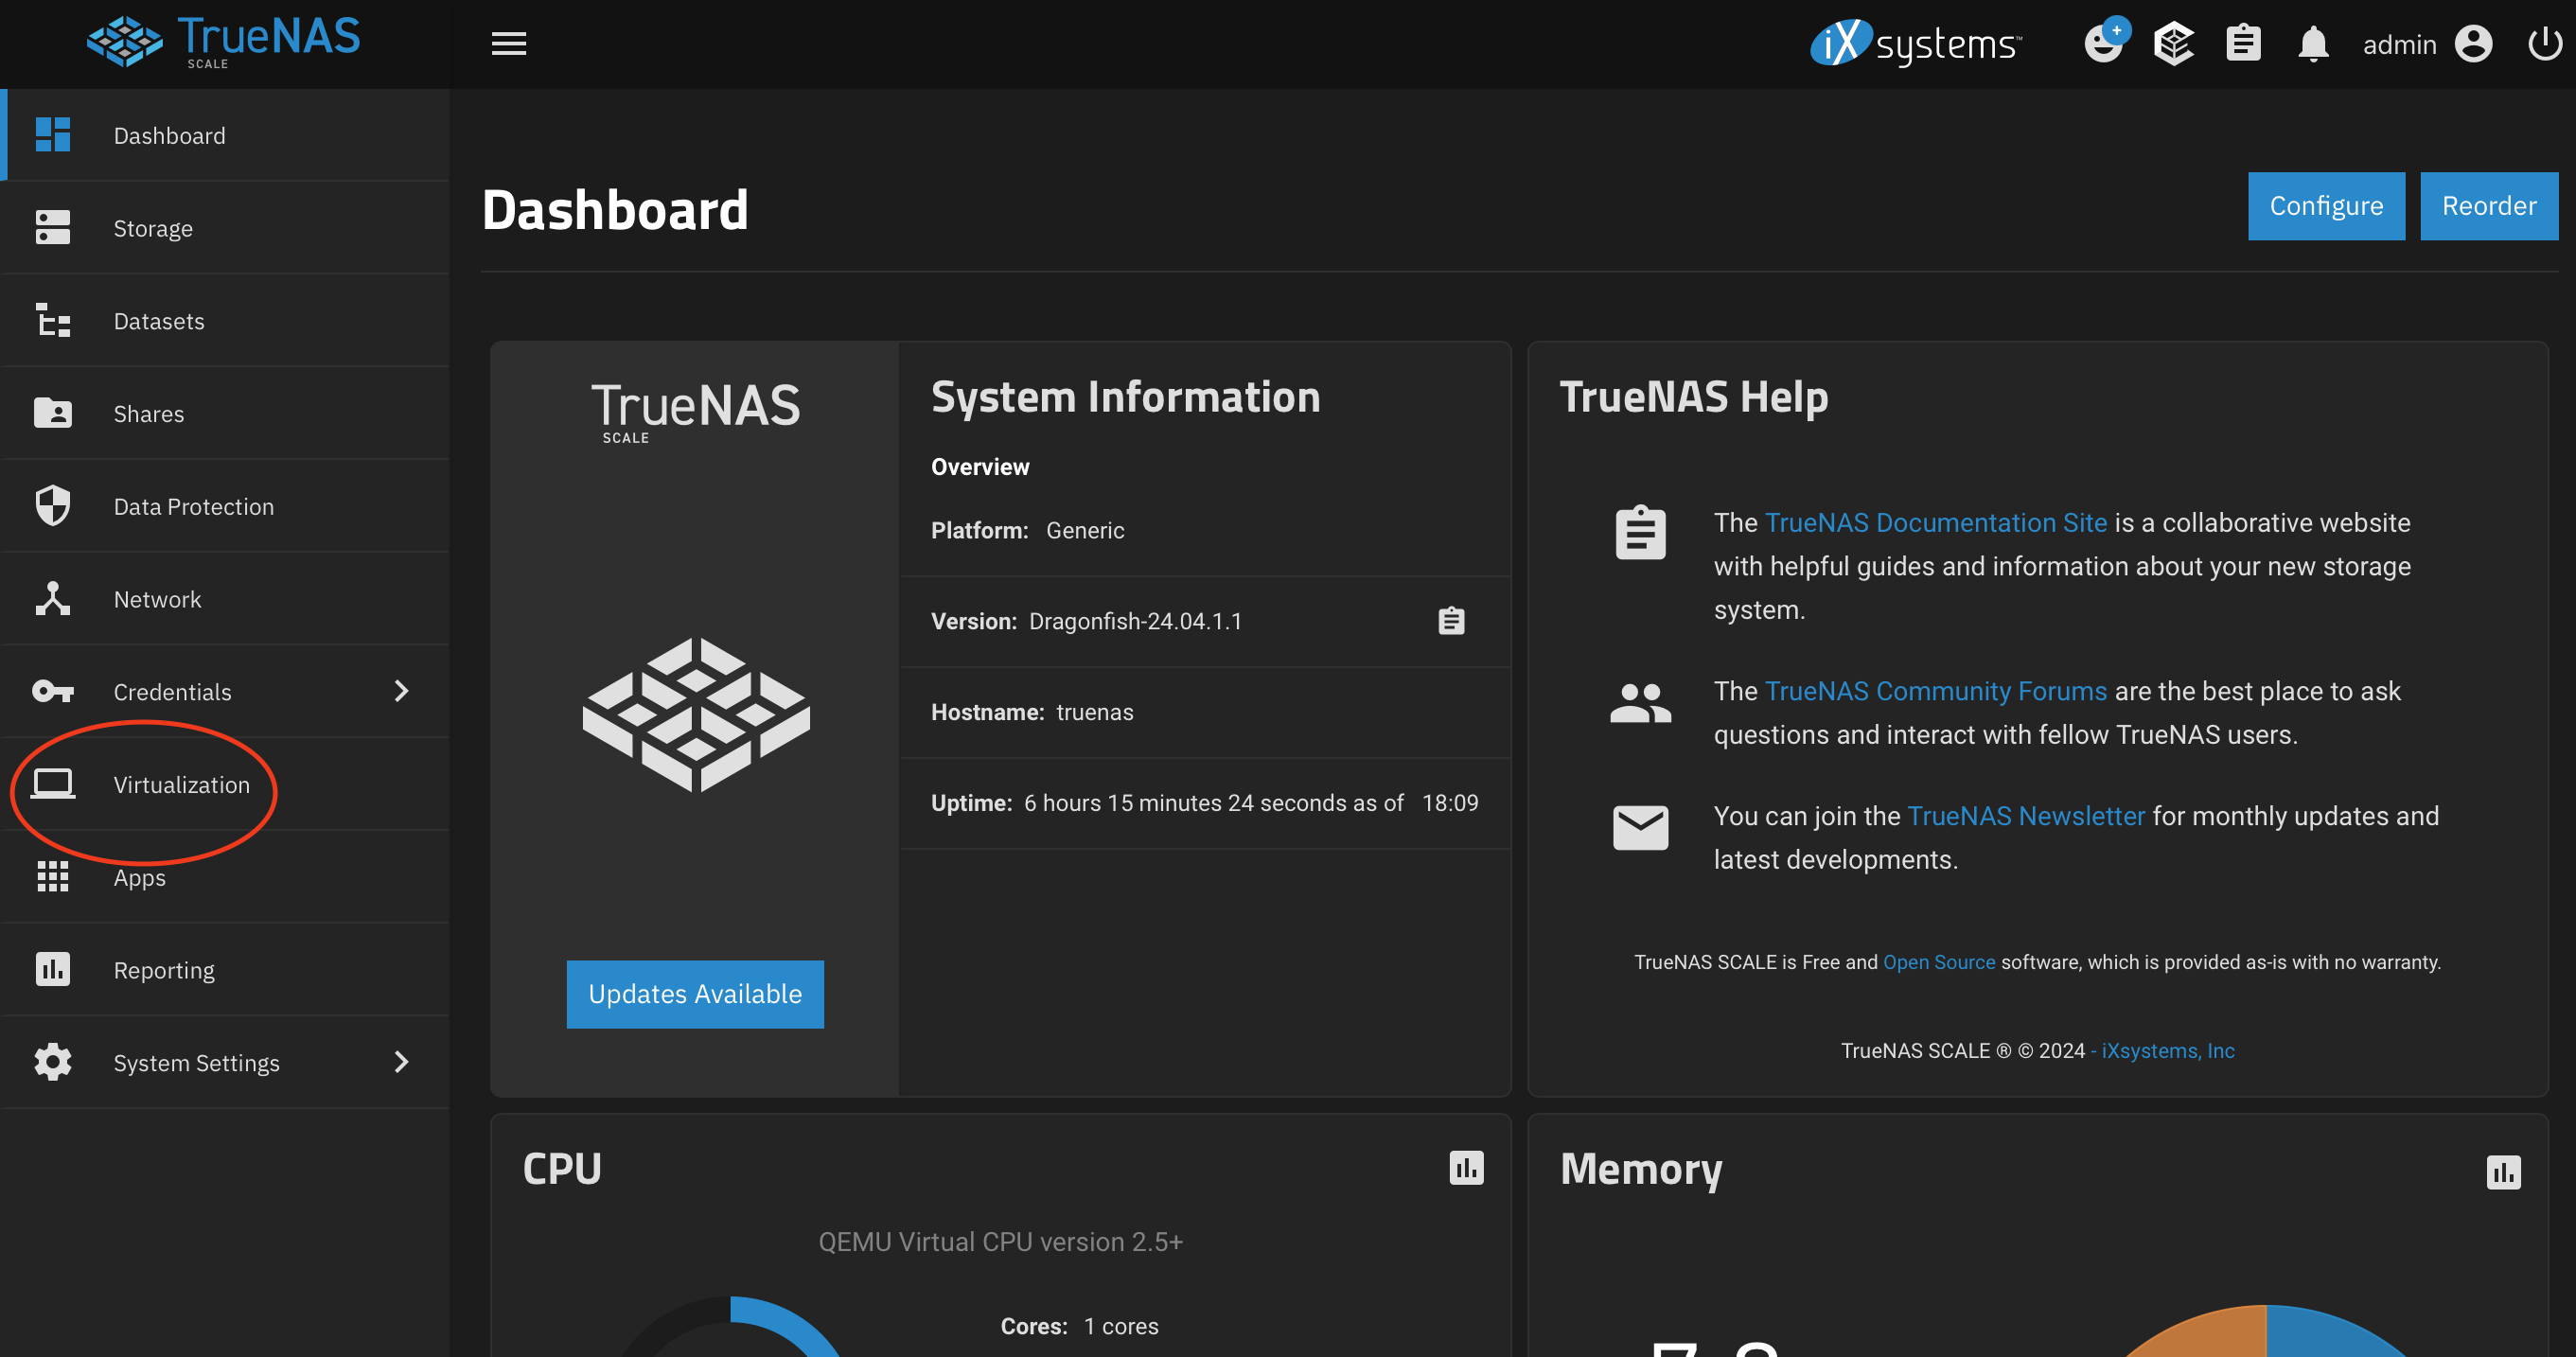
Now go to the Virtualization tab on the left side panel.
 TrueNAs virtualization panel main view with no VM’s
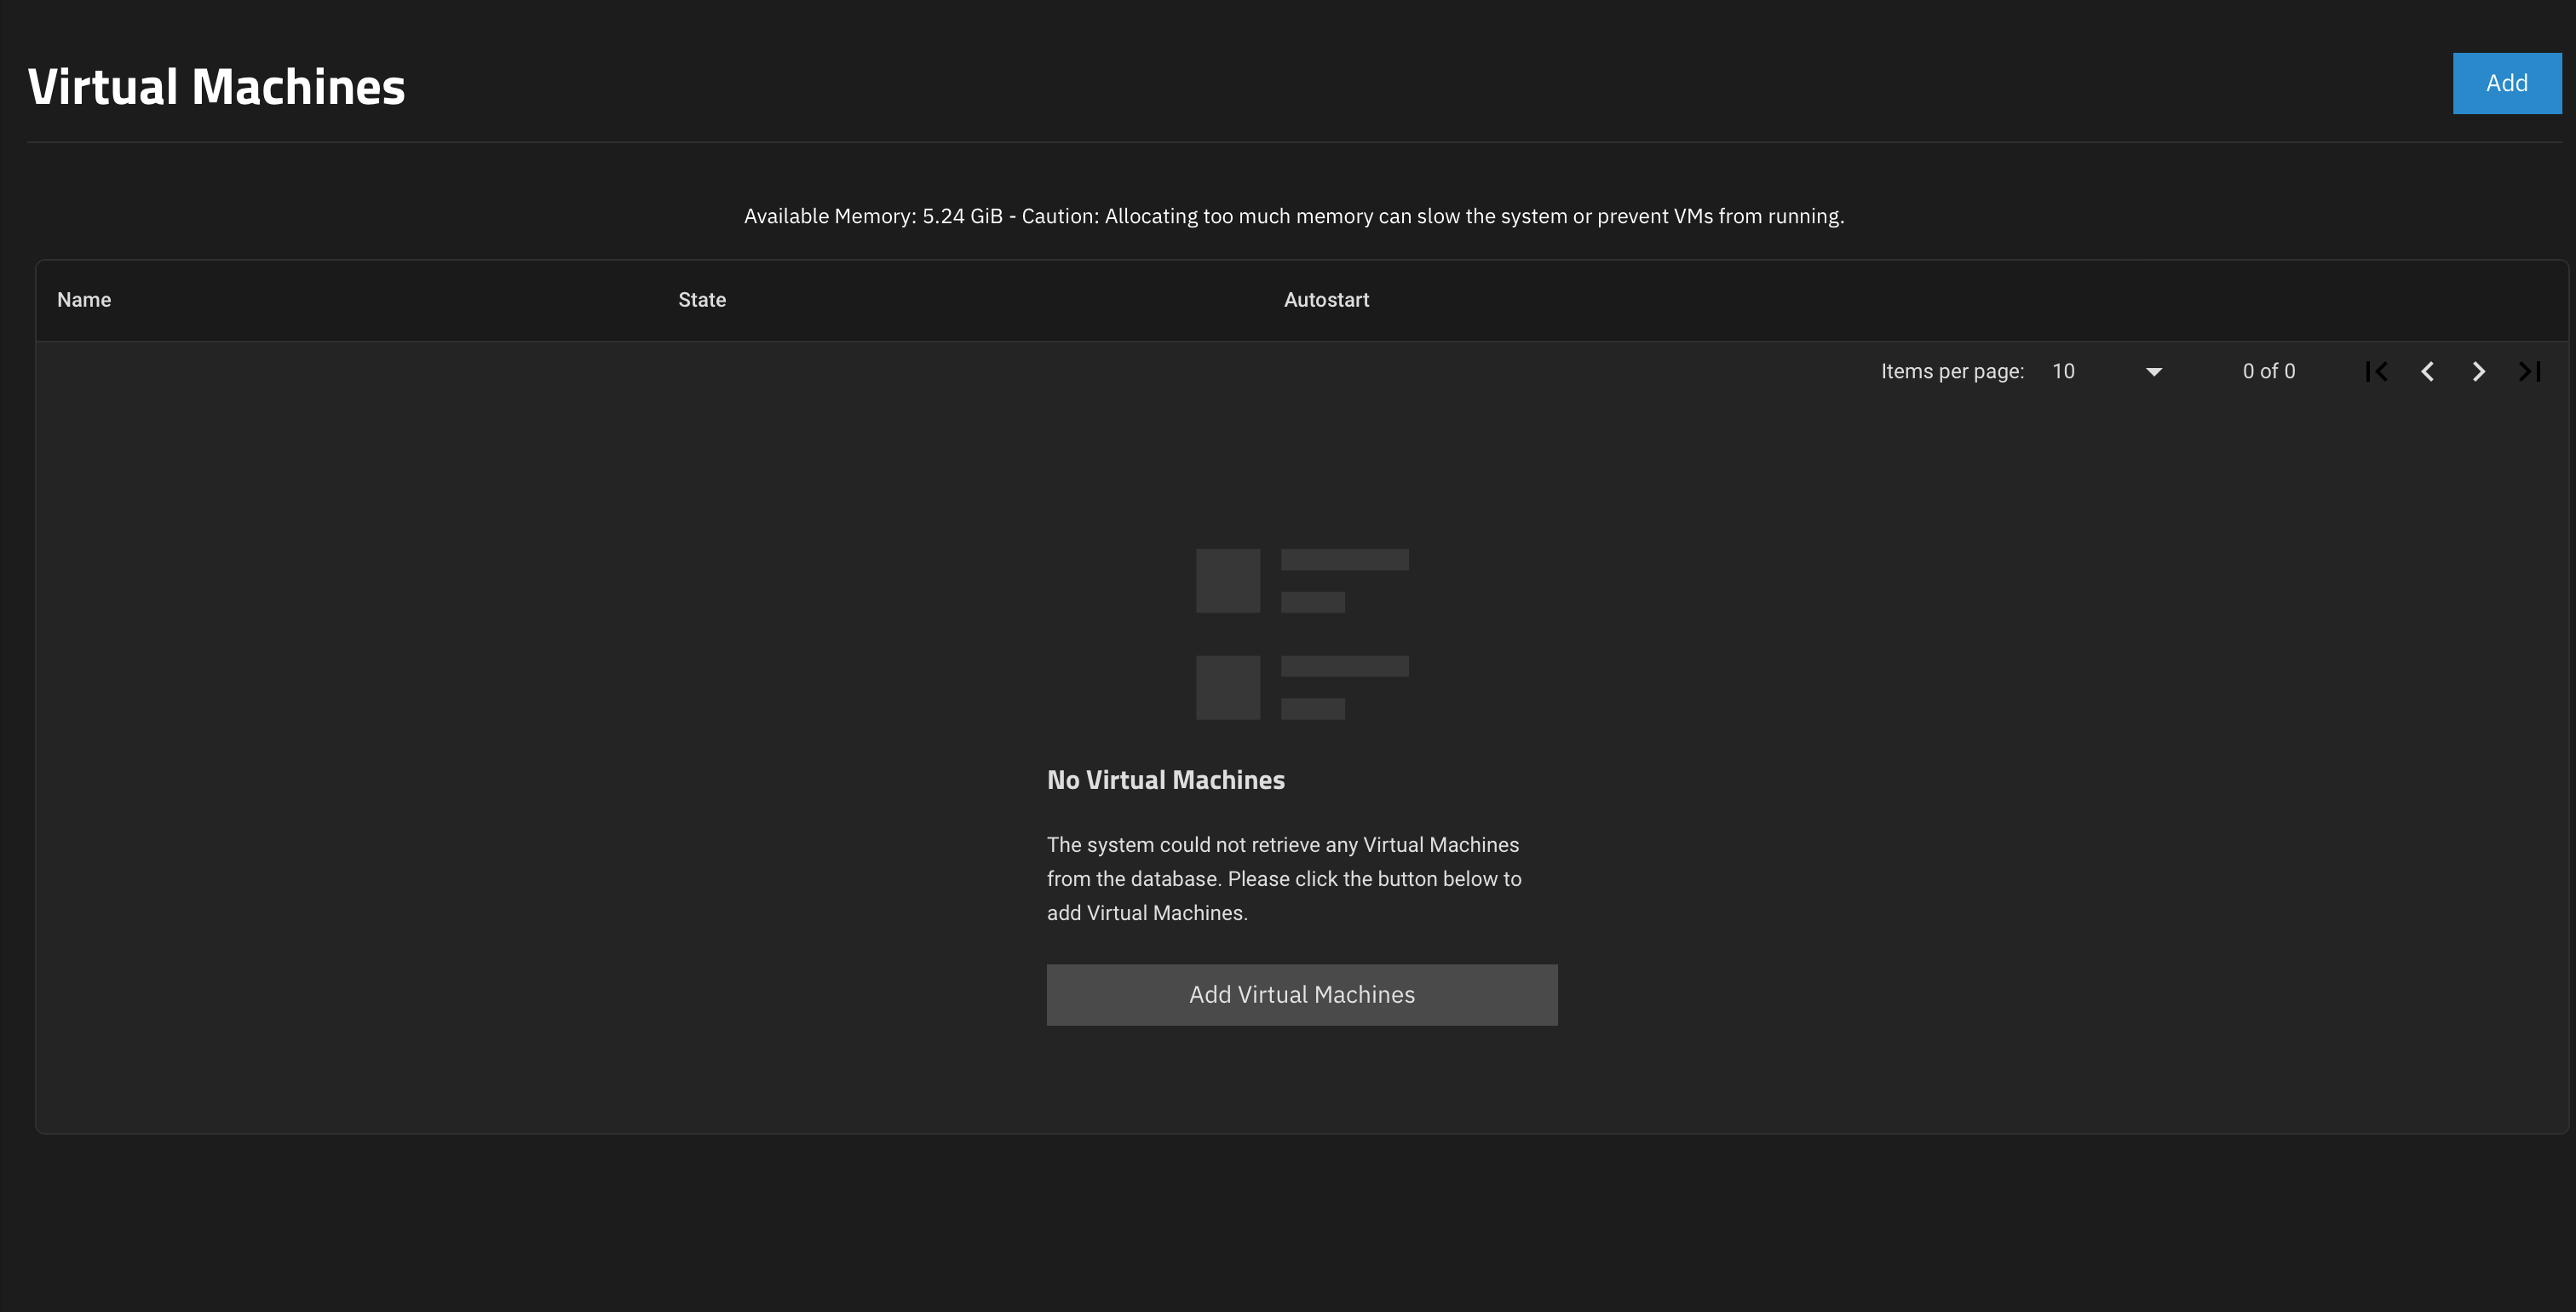
Your only choice is going to be to add a new virtual machine, do so.
There are now many options, these are my recommended settings.
Operating System
 Guest Operating System: Linux

 Name: POS_VM

 Description: Point of Sale Virtual Machine

 System Clock: Local

 Boot Method: UEFI

 Shutdown Timeout: 90

 ✅ Start on Boot

 ✅ Enable Display

 Bind: 0.0.0.0

 Password: abc123
CPU and Memory
 Virtual CPUs: 1

 Cores: 1

 Threads: 1

 CPU Mode: Host Model

 Memory Size: 8 Gib (depending on how much RAM your system has, I'd make sure to leave at least 4 GiB for the OS)
Disks
 🔘 Create new disk image
 ⭕️ Use existing disk image

 Select Disk Type: VIRTIO (better performance on OS's that support it... not windows.)

 Zvol Location: RedundantPool (pick the storage pool we created earlier)

 Size: 250 GiB (or whatever size you want)
Network Interface
 Adapter Type: VirtIO

 Mac Address: (just use whats here unless you want to specify a mac address for some reason)
 Attach NIC: enp0s1 (may have a different name depending on your hardware)
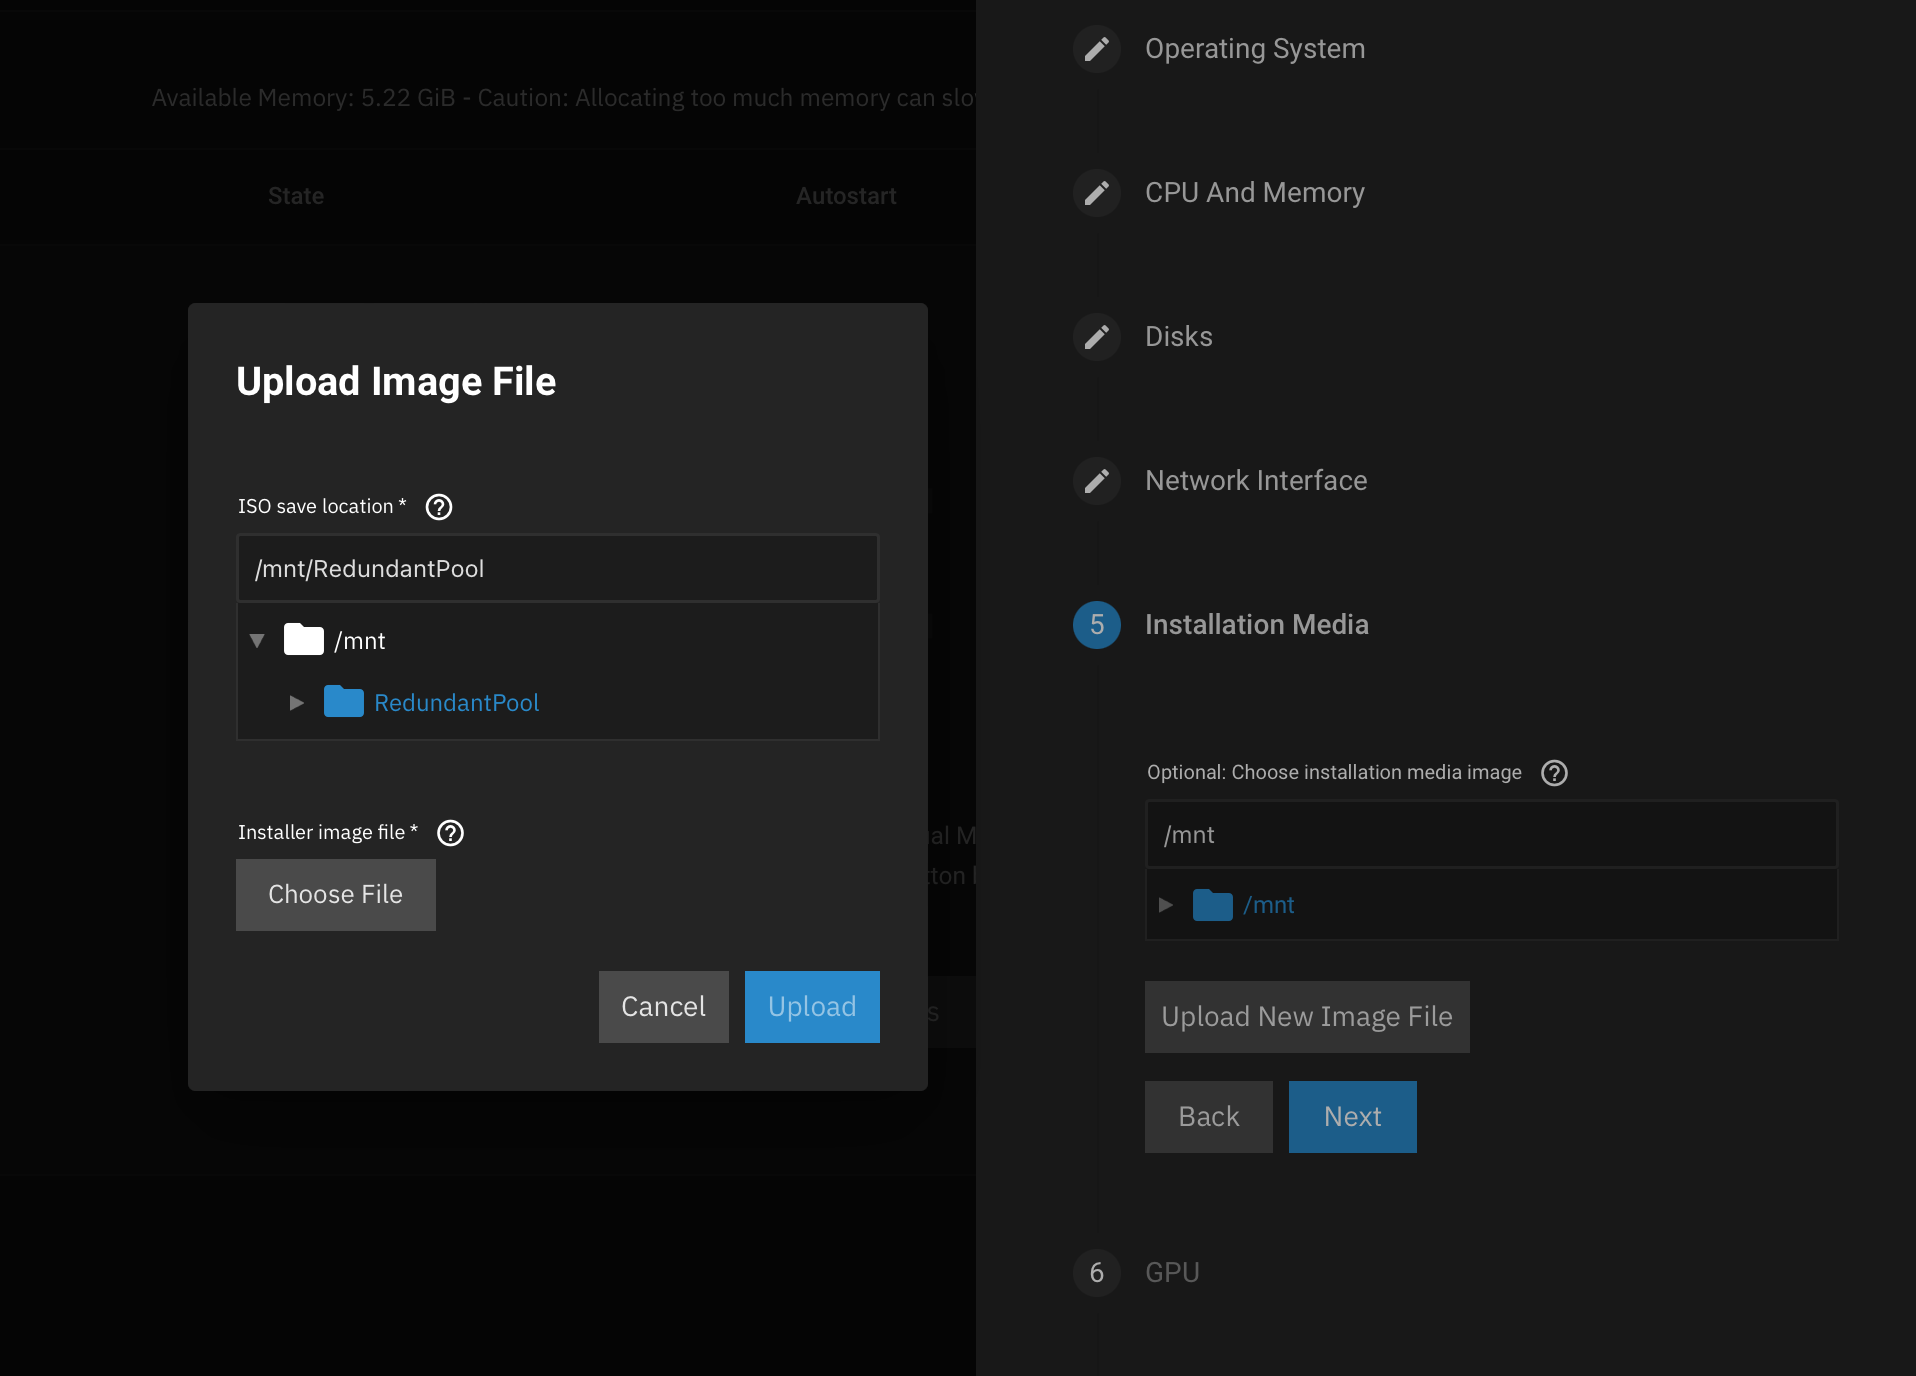
Installation Media
 We'll click 'Upload New Image File' here.

 Select your storage pool as the place to store the installer image.  And press 'Upload'.
 TrueNAS virtualization panel item
 This is gonna take a few minutes so go make a sandwich, you're probably hungry.

 Click 'Next'
GPU
Don't select anything.
Confirm Options
Check it over and click 'Next'
Our new virtual machine is ready for an operating system!
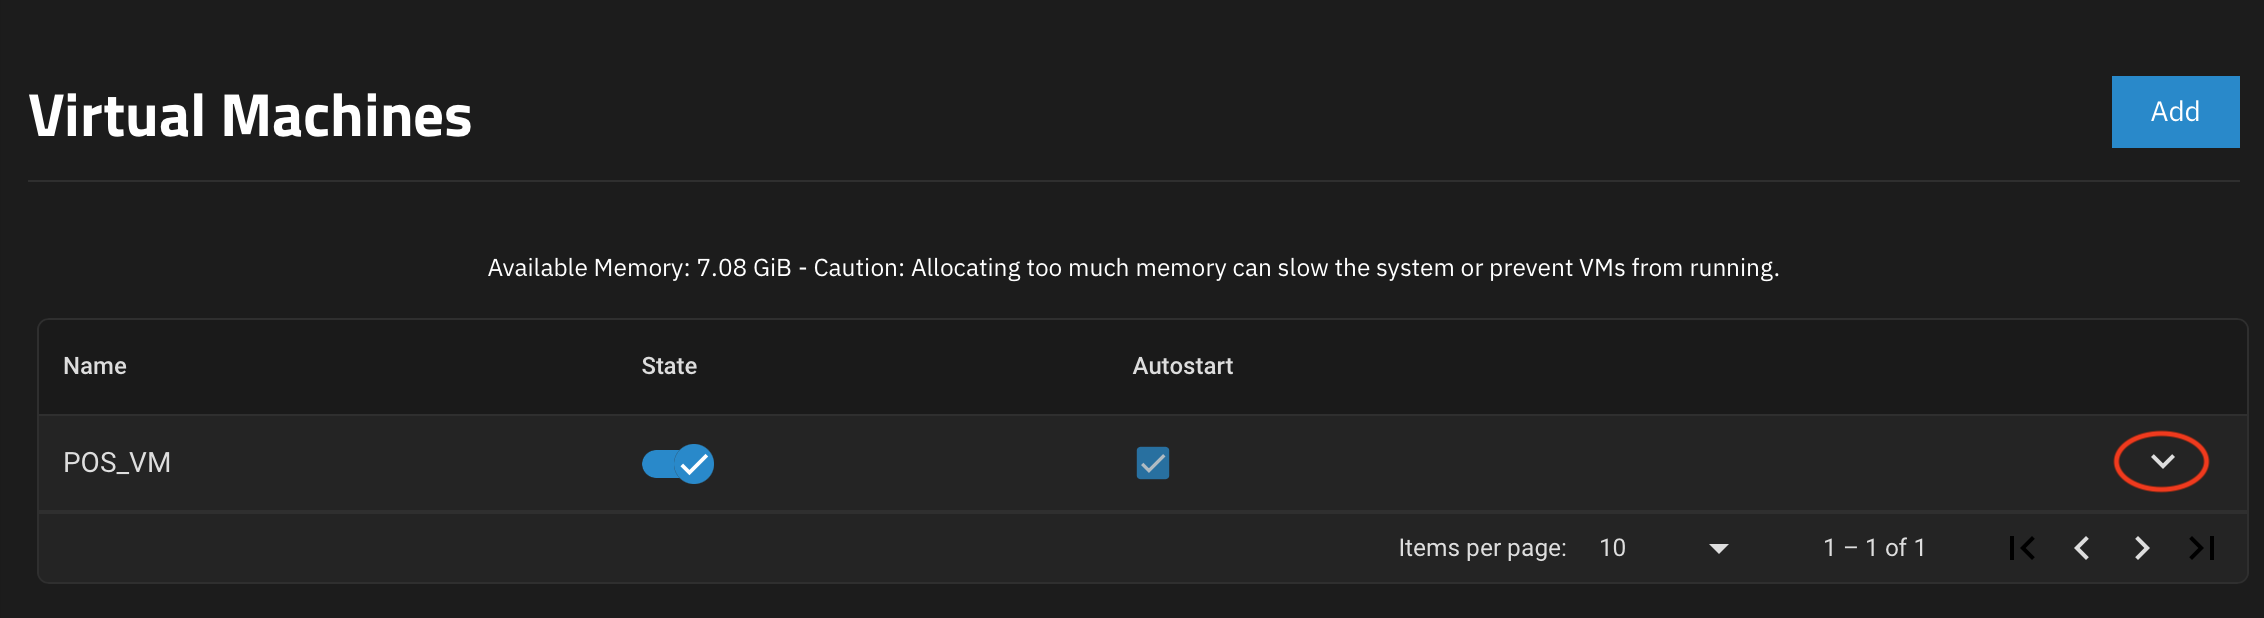
Our Virtualization dashboard now looks like this. Most of our options are hidden.
 TrueNAS virtualization panel showing our new VM
Hit the highlighted doodad to show our options, and we want to see our options.
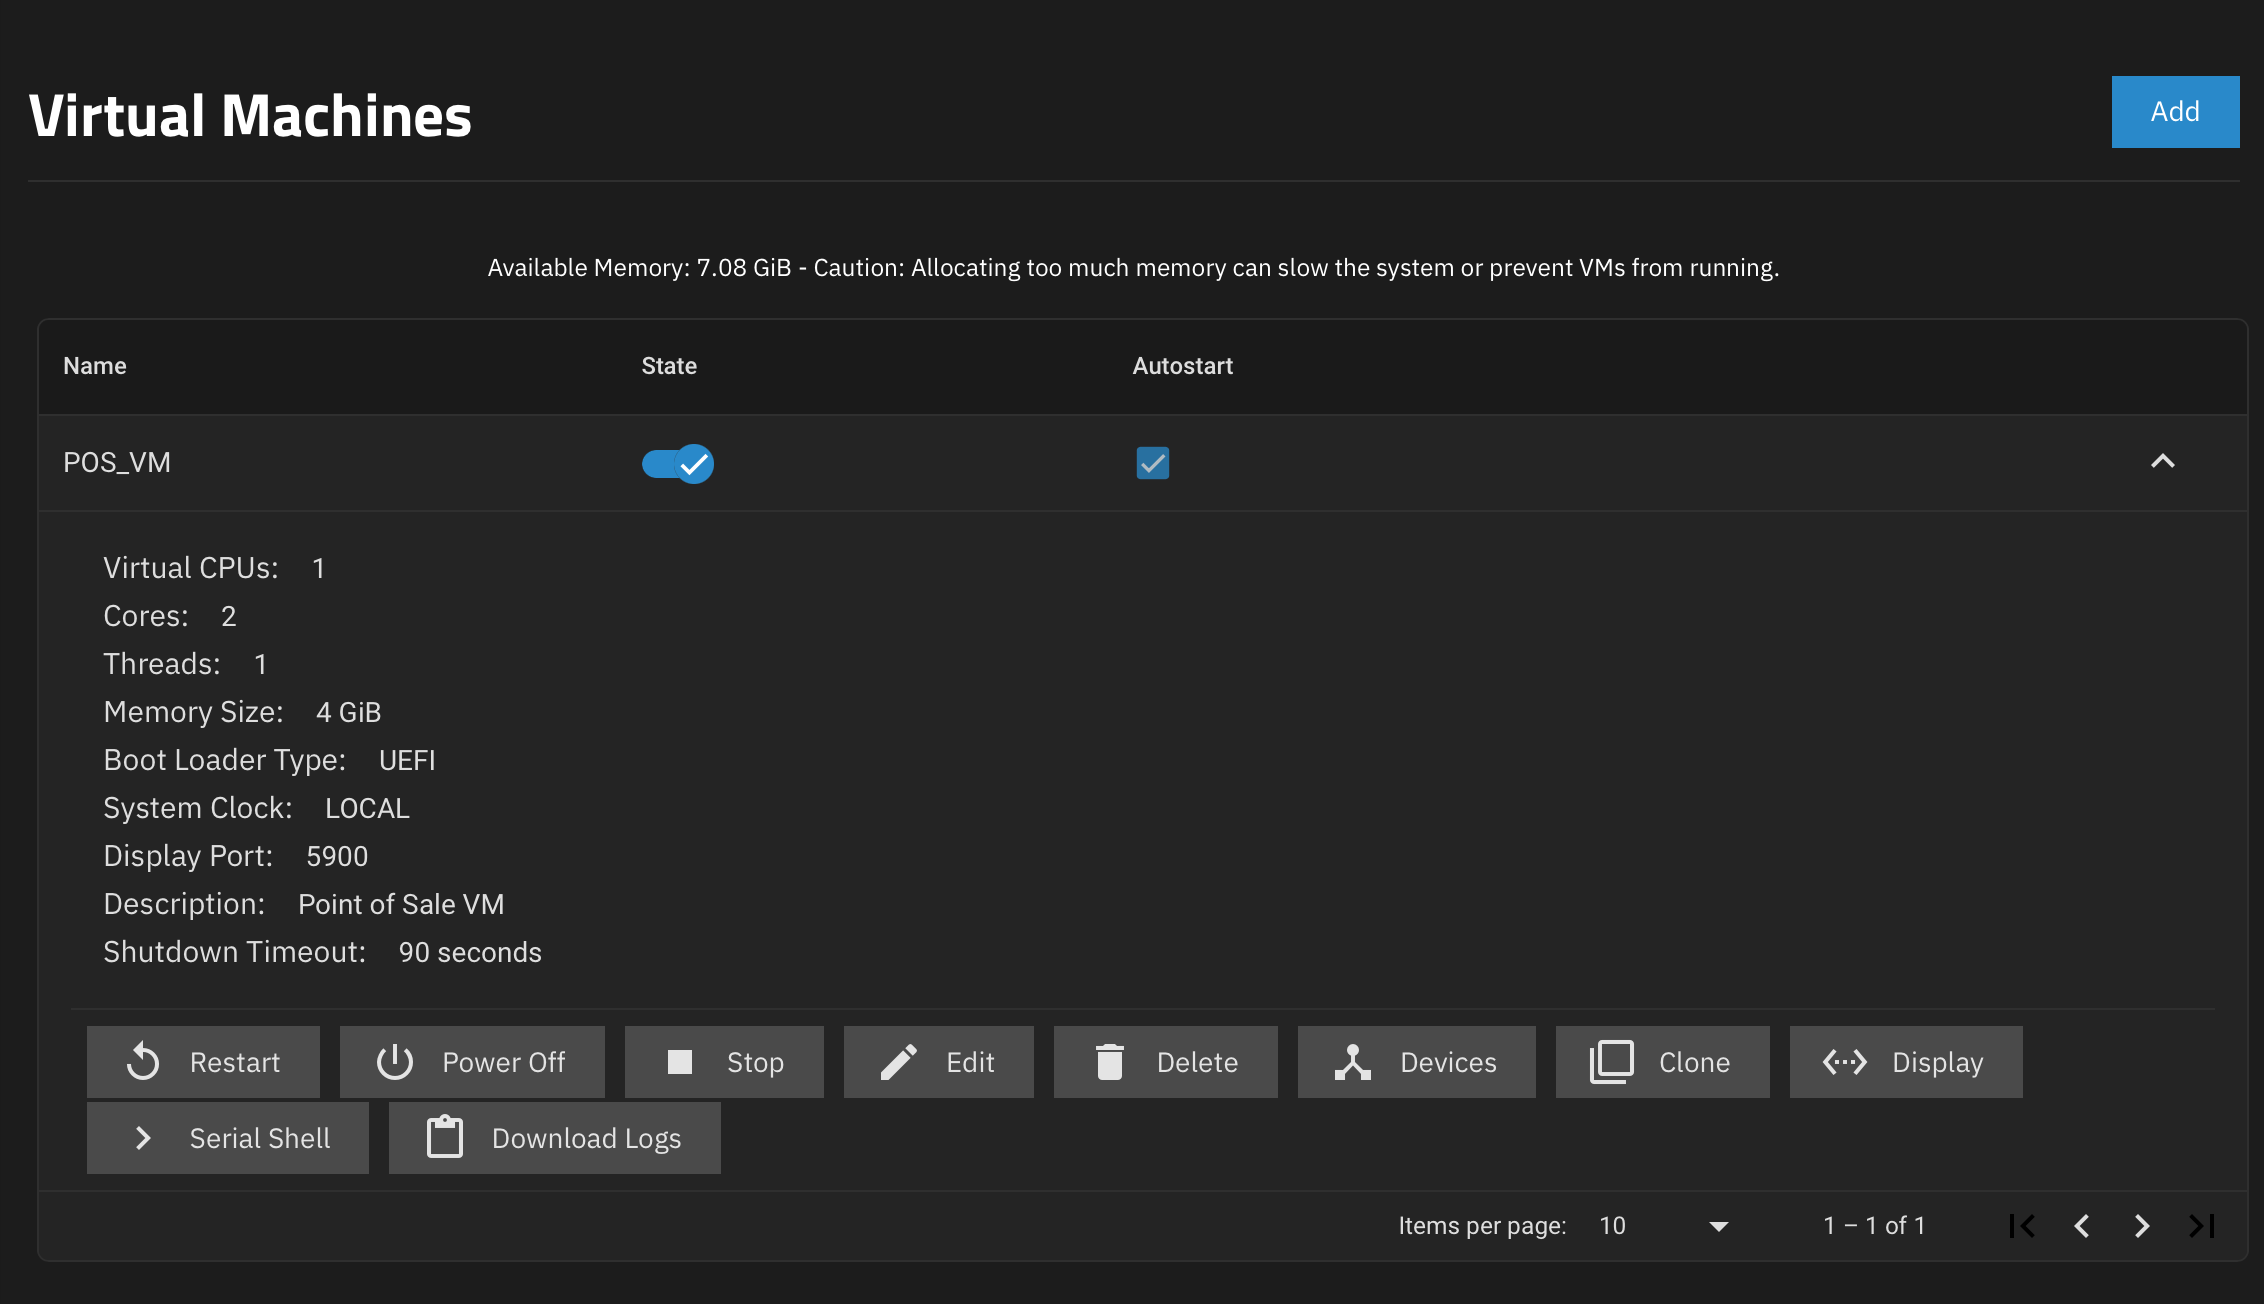 TrueNAS virtualization panel showing our new VM + details
We can press ‘Display’ to be able to view a virtual screen of our VM in a new tab. This SPICE viewer is allegedly notoriously unreliable, many sources have suggested using 🌎virt-manager as an alternative.
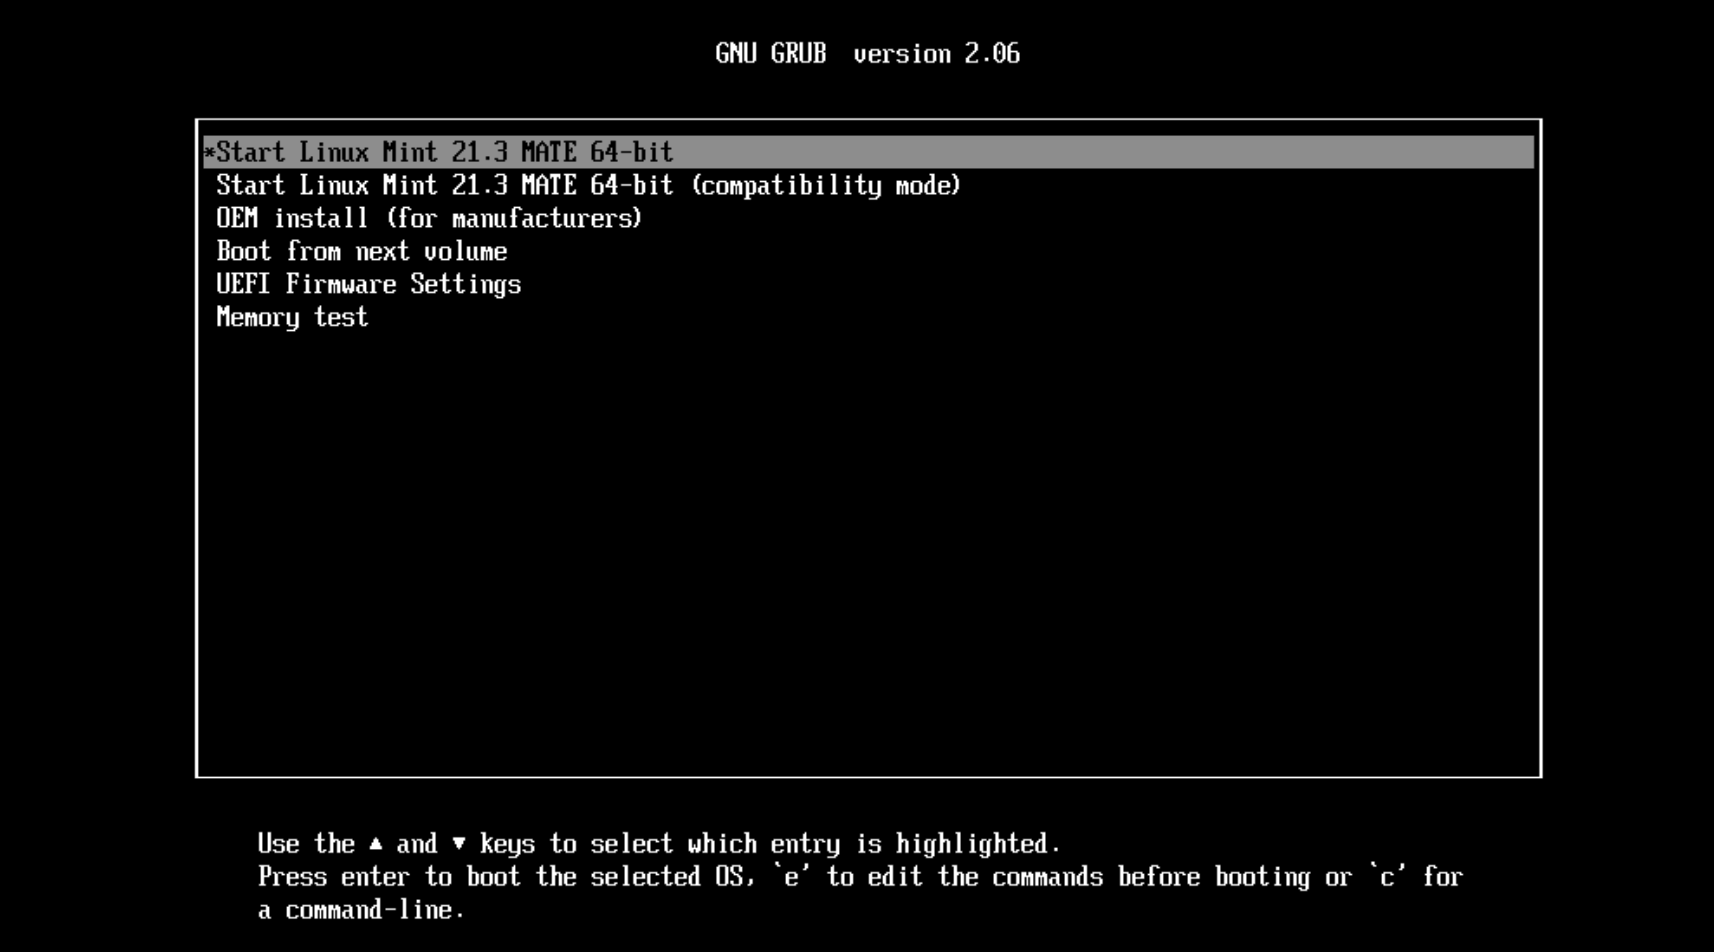 Linux Mint GRUB boot loader screen inside our VM
Once we connect to our display by whatever means we choose we are greeted by the GRUB boot screen. Pick the first option.
Now another short wait.
 Linux Mint live installer desktop
We’re at the live desktop now, all we really need to do here is run the installer found on the desktop.
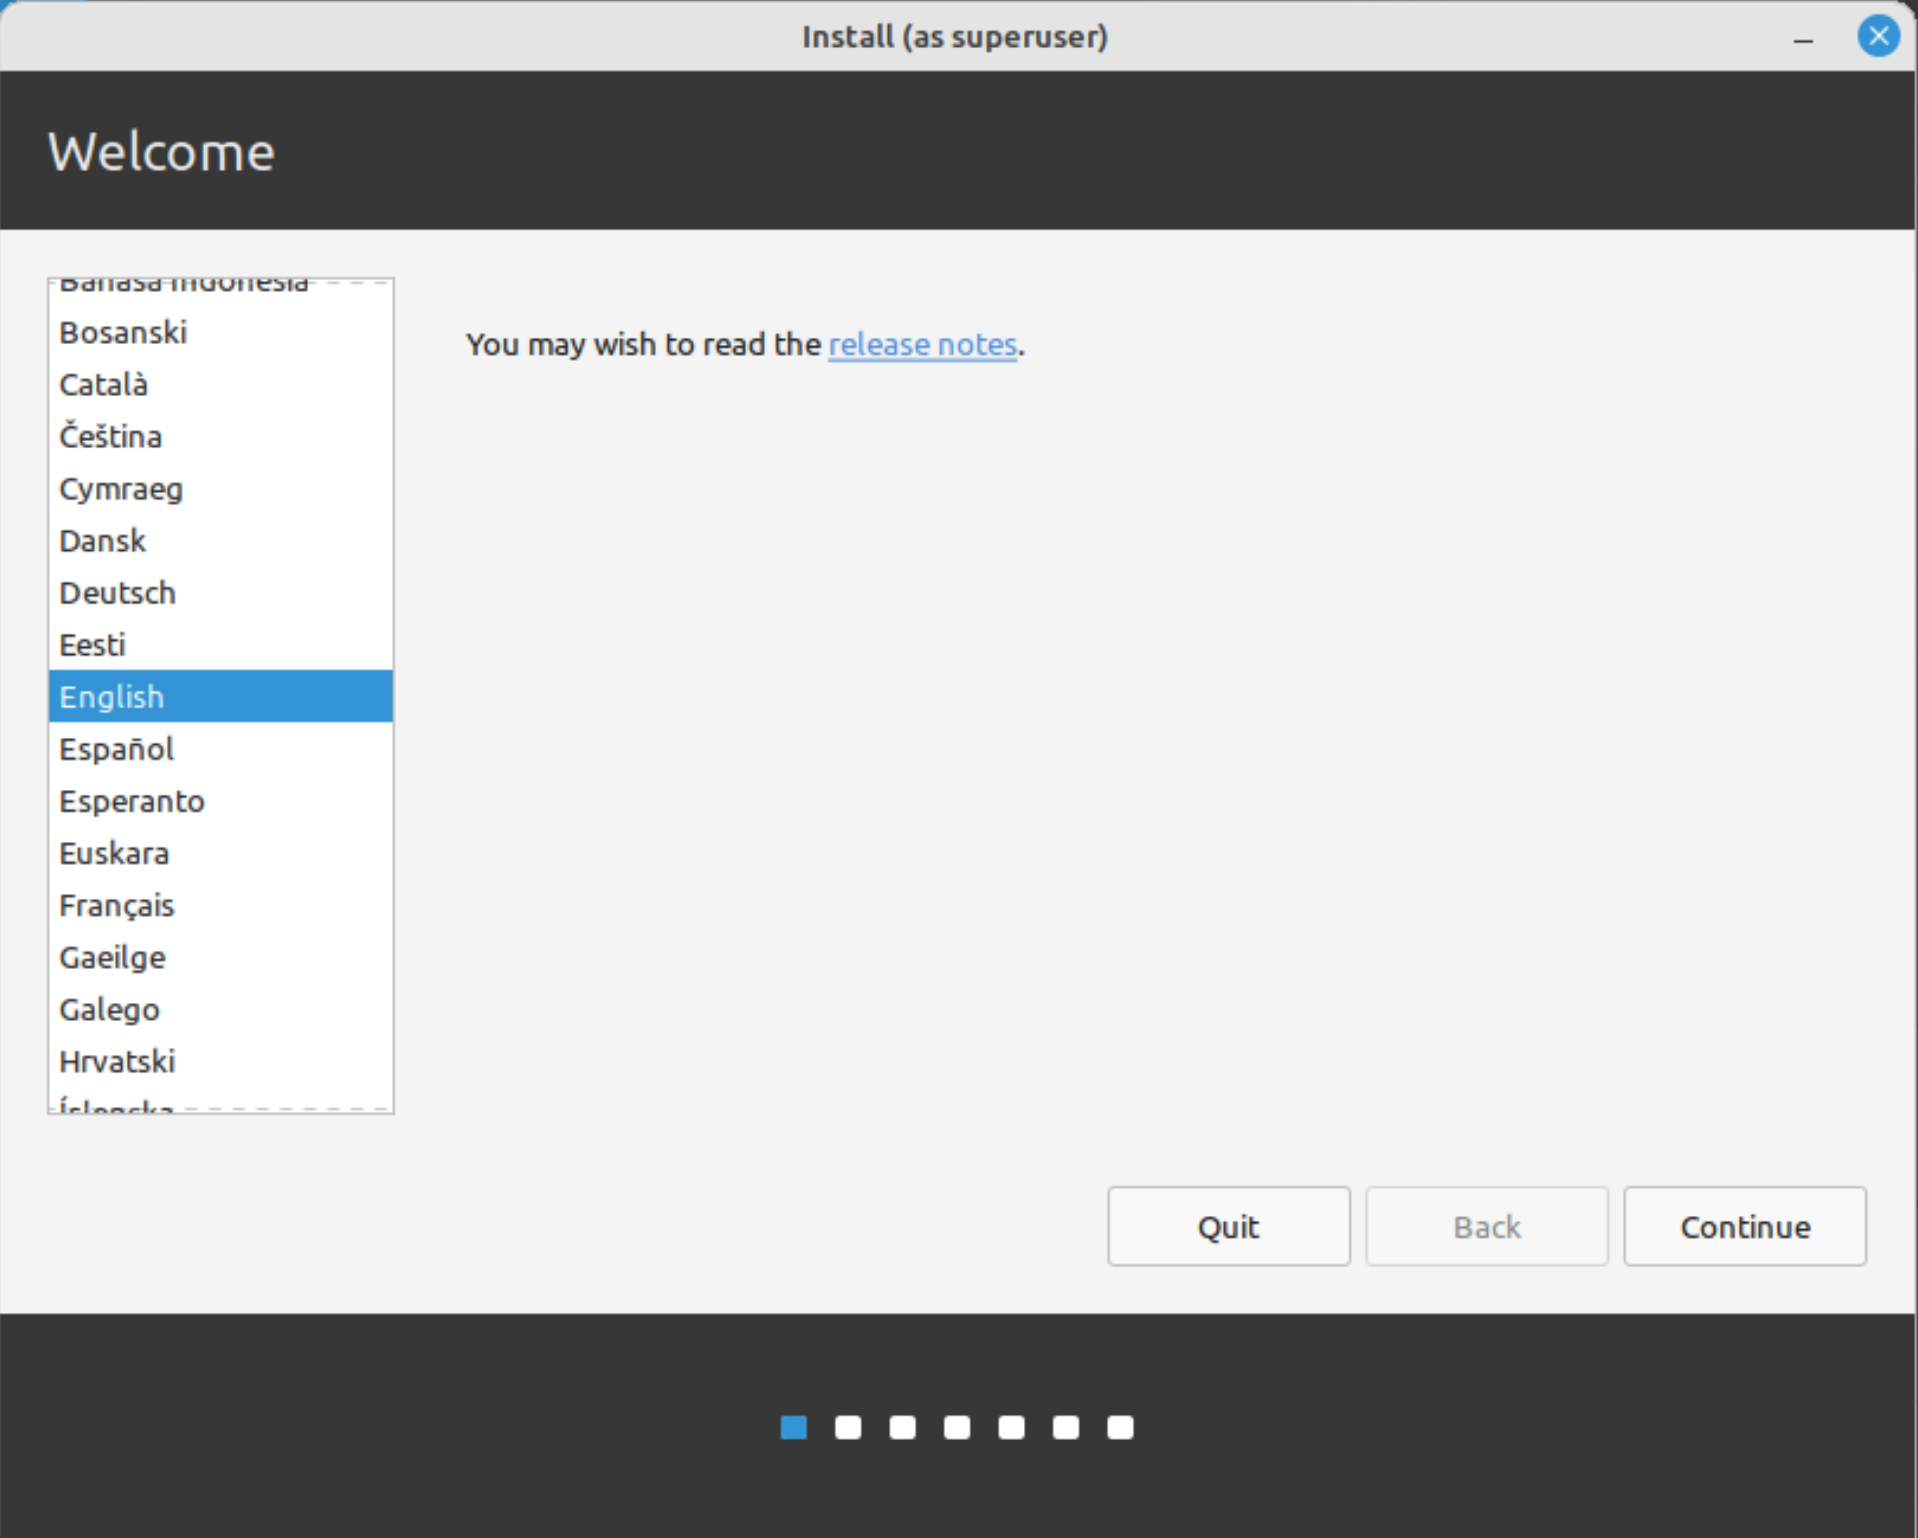 Linux Mint installer
You can pretty safely just keep clicking continue until we reach the superuser user details page. Fill it out, pick a strong and memorable password. Once were done here you won’t be coming back for a long time.
Again you have an opportunity to pick a creative computer name, I’m picking the very creative ‘test-pos’.
Once you’re done click ‘Next’ and the OS will install.
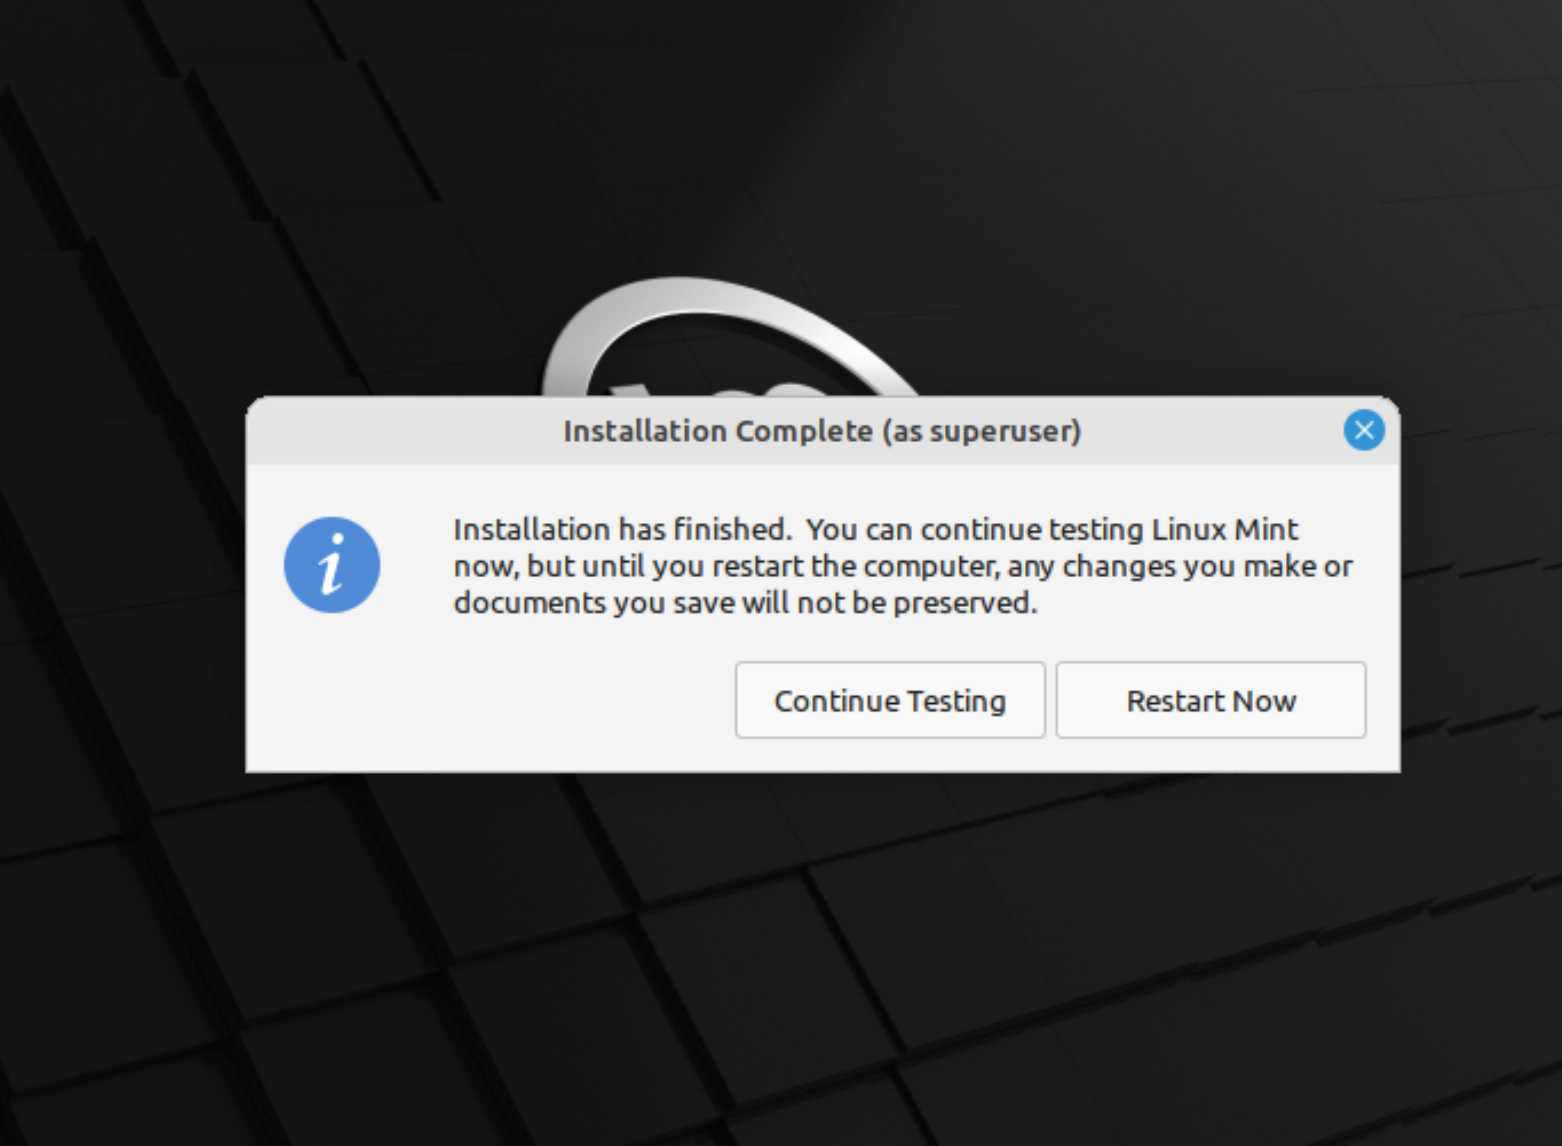 Linux Mint installer complete dialog
To make our life a little easier, at this dialog we’ll click ‘Continue Testing’ and shutdown the VM manually.
TrueNAS virtualization showing our VM
Once the VM is shutdown we want to go back to the TrueNAS Virtualization dashboard. This time instead of clicking on ‘Display’ we want to go to ‘Devices’ instead.
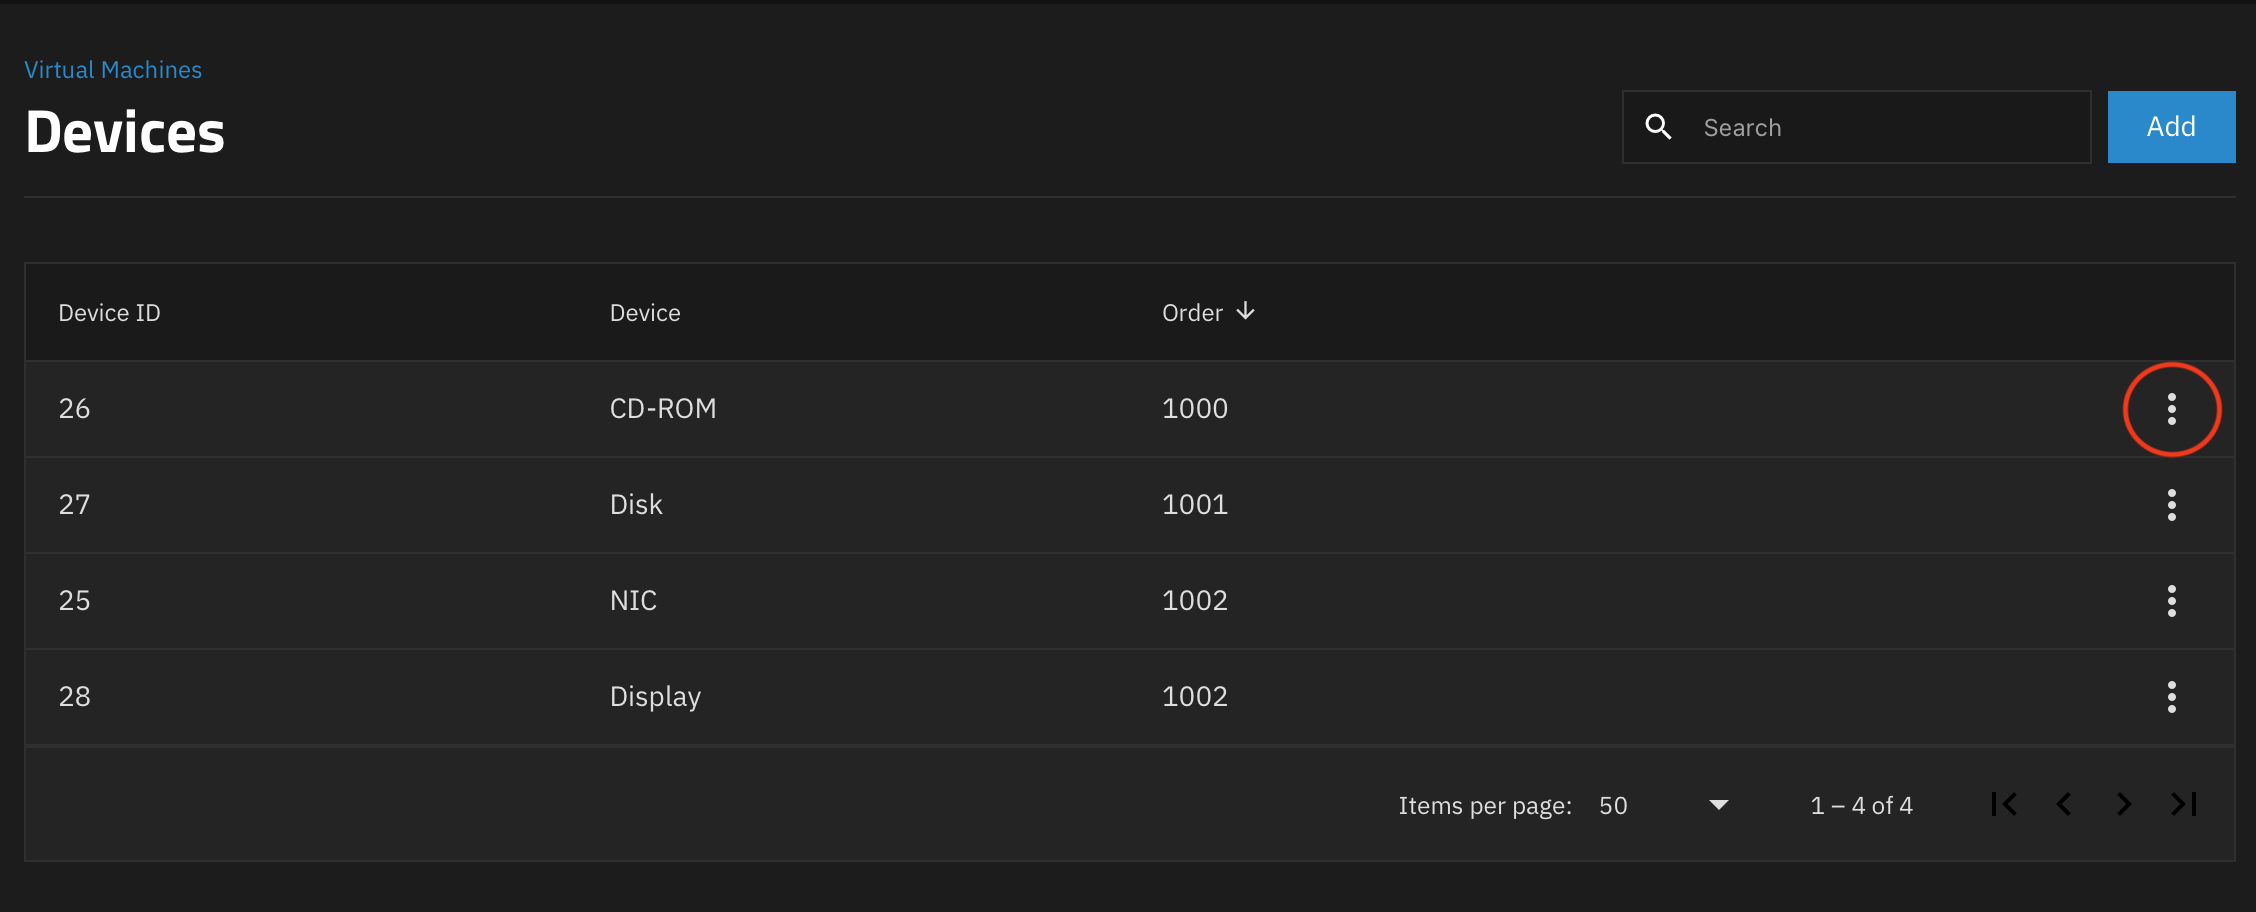 Dashboard showing the virtual devices connected to our virtual machine
In the devices menu we want to use the hamburger menu on the CD-ROM device and delete it. This prevents the VM from continually booting into the OS installer instead of the installed system.
Go back to the Virtualization dashboard and start your VM again. Connect to the display by the method of your choice.
We’re now ready to install our POS software of choice!
In my case I’m installing 🌎phpPointOfSale.