Download and Install phpPointOfSale
It’s now time for the final bit of our Point of Sale infrastructure to be laid down.
As mentioned, we’re going to install phpPointOfSale.
You’ll have to buy this software to use it. 🌎phppointofsale.com
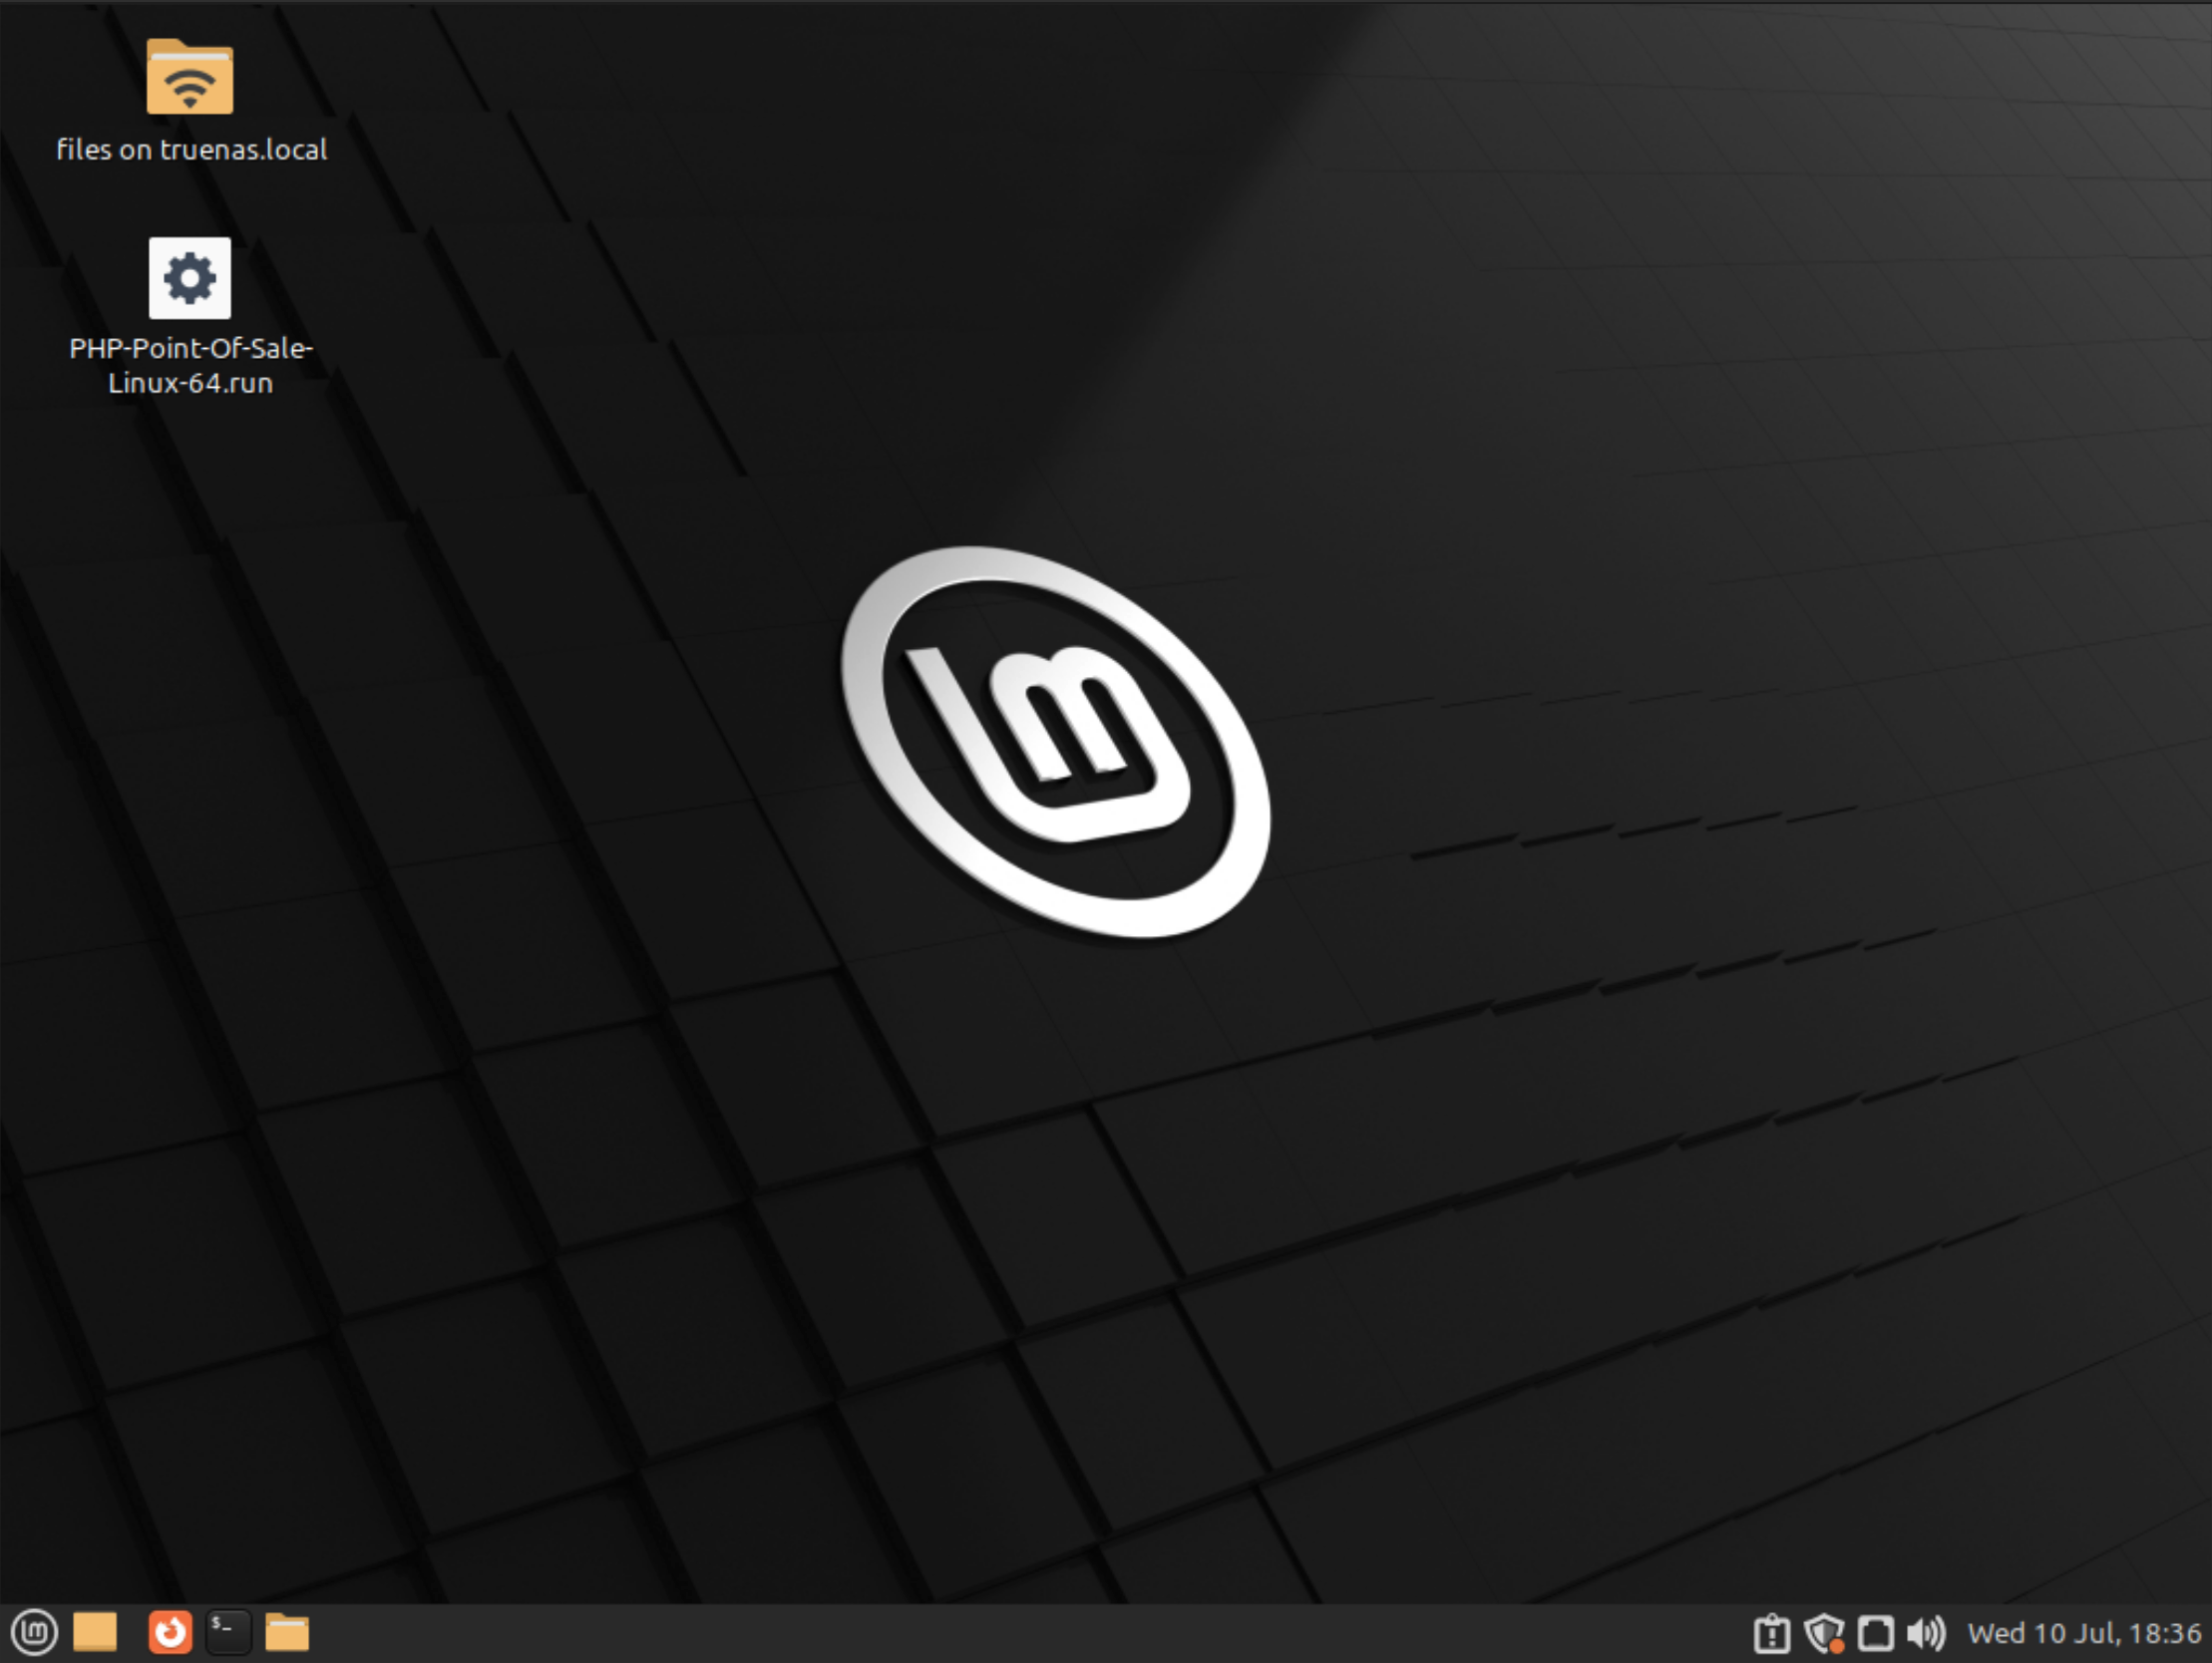
Linux Mint desktop with installer on desktop
We’ve got the linux installer on the desktop after downloading it from 🌎phppointofsale.com
You’ll notice if you double click the installer nothing you want to happen happens. This is because for Linux reasons it’s not marked as being executable by default.
So we’ll need to open a terminal and issue the following commands;
cd ~/Desktop ⏎
chmod +x PHP-Point-Of-Sale-Linux-64.run ⏎
We also need to install a library that the OS doesn’t provide that phpPOS wants. libtinfo5
sudo apt-get install libtinfo5 ⏎
Now the permissions of the installer are set to eXecutable. We have the libraries we need. You can run the installer by double clicking it now, but don’t bother because you have to run it with superuser power.
sudo ./PHP-Point-Of-Sale-Linux-64.run
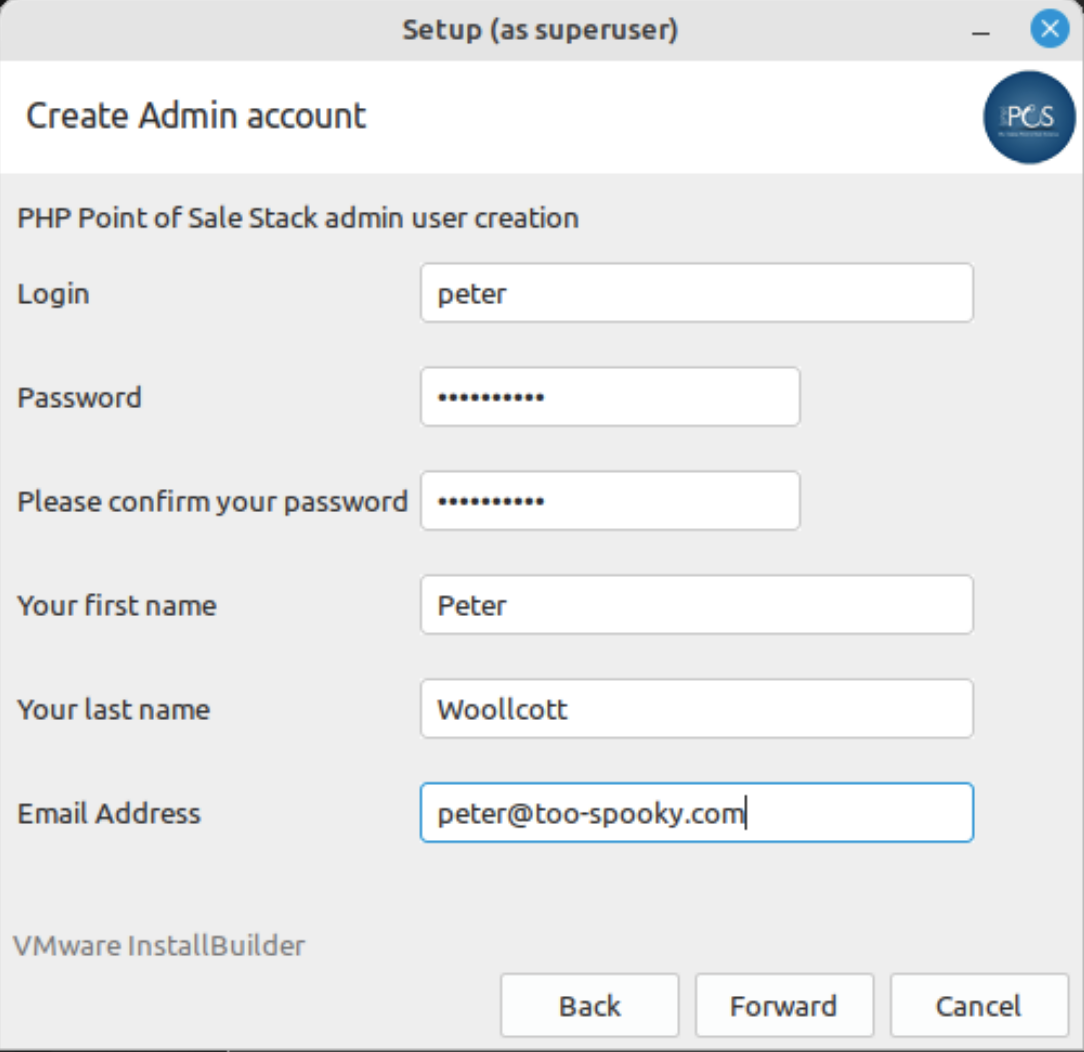
phpPointOfSale installer admin user creation screen
The installer runs. Click next until you reach the Admin user credentials page. Enter your admin details and continue. The next page will ask if we are restoring from a backup, we are not. Continue to install.
After the install is finished, using another computer on your local network open a browser and put the servers ip address in the navigation bar.
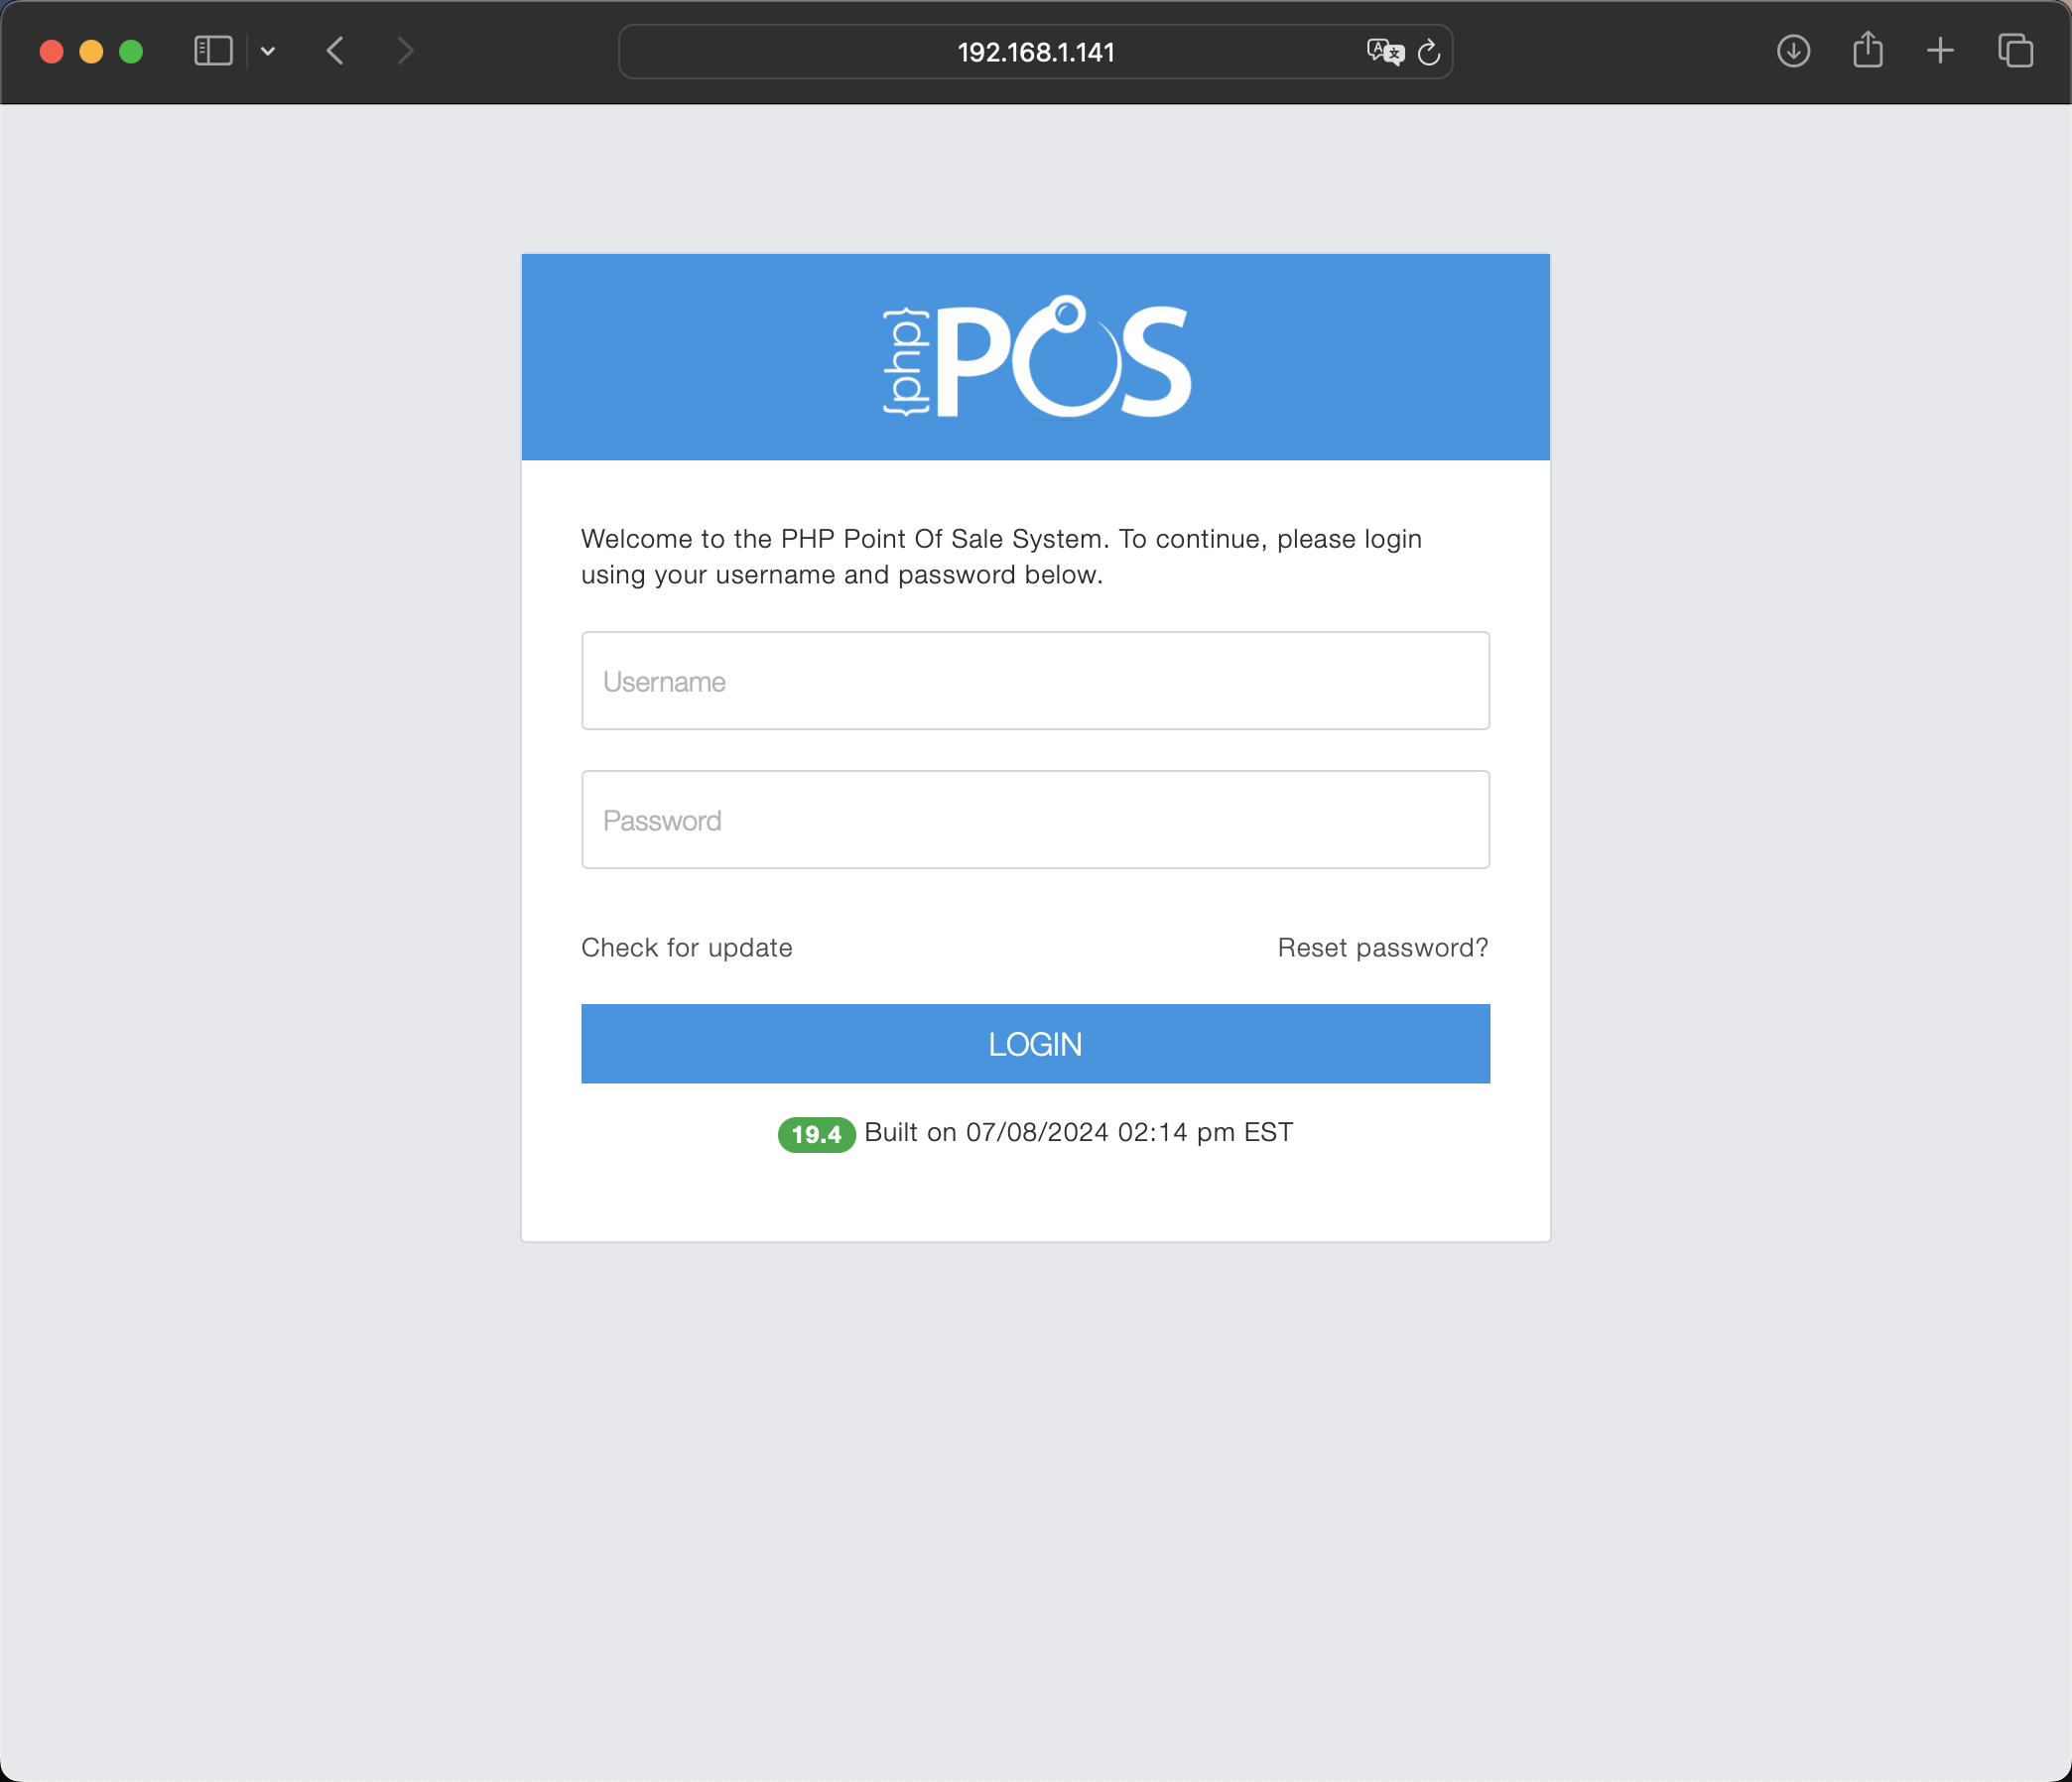
phpPointOfSale login screen
Login with your credentials you established in the phpPOS installer.
If you can login, we’re nearly done here. It’s prudent to check wether the software stack is going to start automatically after a restart. So restart your VM.
My VM restarts but the phpPOS software stack doesn’t start at boot. A bit annoying. We’re going to make systemd service file to start the phpPOS service at boot.
Open the terminal and do this;
sudo nano /etc/systemd/system/phppos.service ⏎
Fill the file with this info.
[Unit]
Description=phpPOS Software Stack

[Service]
Type=forking
User=root
ExecStart=/opt/phppos/ctlscript.sh start
ExecStop=/opt/phppos/ctlscript.sh stop
Restart=on-abort
TimeoutSec=60

[Install]
WantedBy=multi-user.target
Press crtl+o ⏎ to save then ctrl+x to exit.
If you try to run this service file now it has an error caused by the existence of a init.d file that phpPOS installs but doesn’t seem to work. We’ll remove that file.
sudo rm /etc/init.d/phppos
Now we can test, then enable the systemd service.
sudo systemctl start phppos
Use a browser on another computer to check that the server’s ip address responds, in my case, 192.168.1.141.
You can use the command
ifconfigin the terminal on the VM to find the phpPOS ip address.
If phpPOS comes up in the browser, you’re good~!
Go back to the terminal and ’enable’ the phppos service to start at every boot.
sudo systemctl enable phppos
You can restart your VM now and the software stack is going to start every time the VM starts. You don’t even need to login.
You now have a working install of phpPointOfSale!
From here you can configure the software for your store’s specific needs, employees, items, customers, etc. via the web interface. You shouldn’t need to access this VM, or TrueNAS anymore unless you want to make any substantial changes.
Now any device that can run a web browser and is on your local network can access the POS interface.
>> Home