TrueNAS Setup
Create ZFS pool
Ok, now we’ll take the web interface ip address we got from the TrueNAS menu in the last step and put it in our web browser.
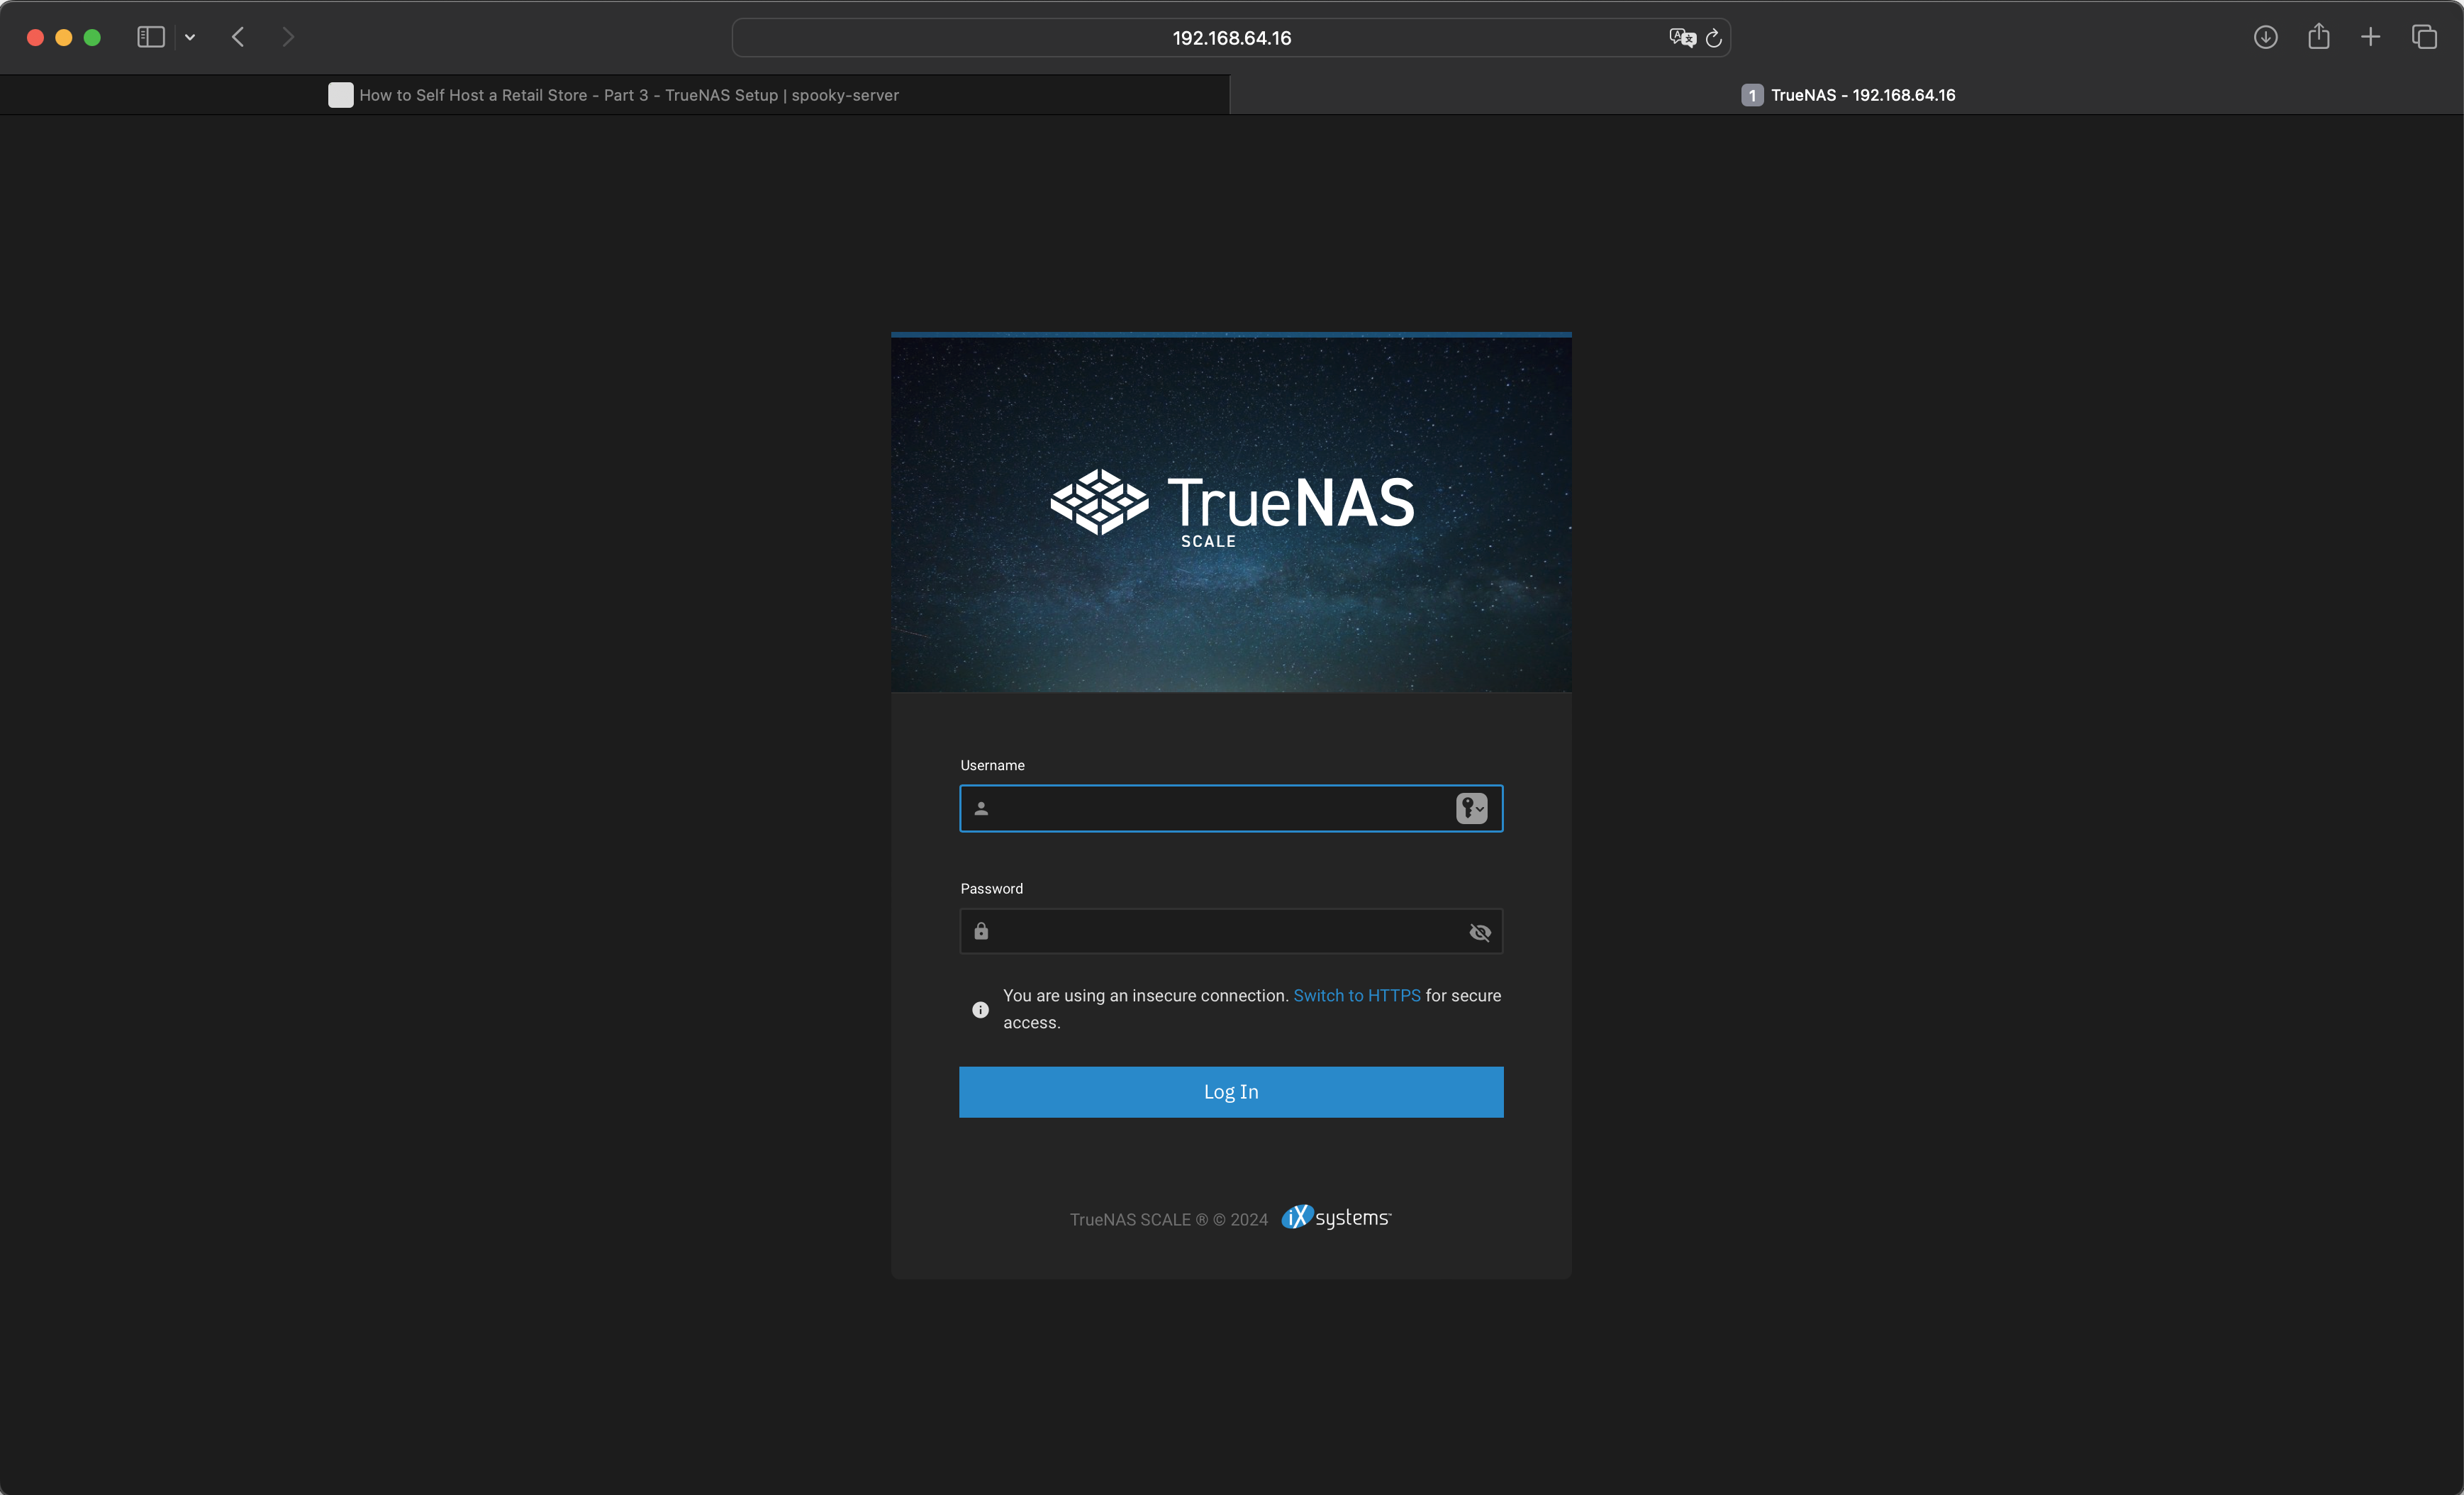
TrueNAS login window
Login using the administrative credentials you setup in the last step.
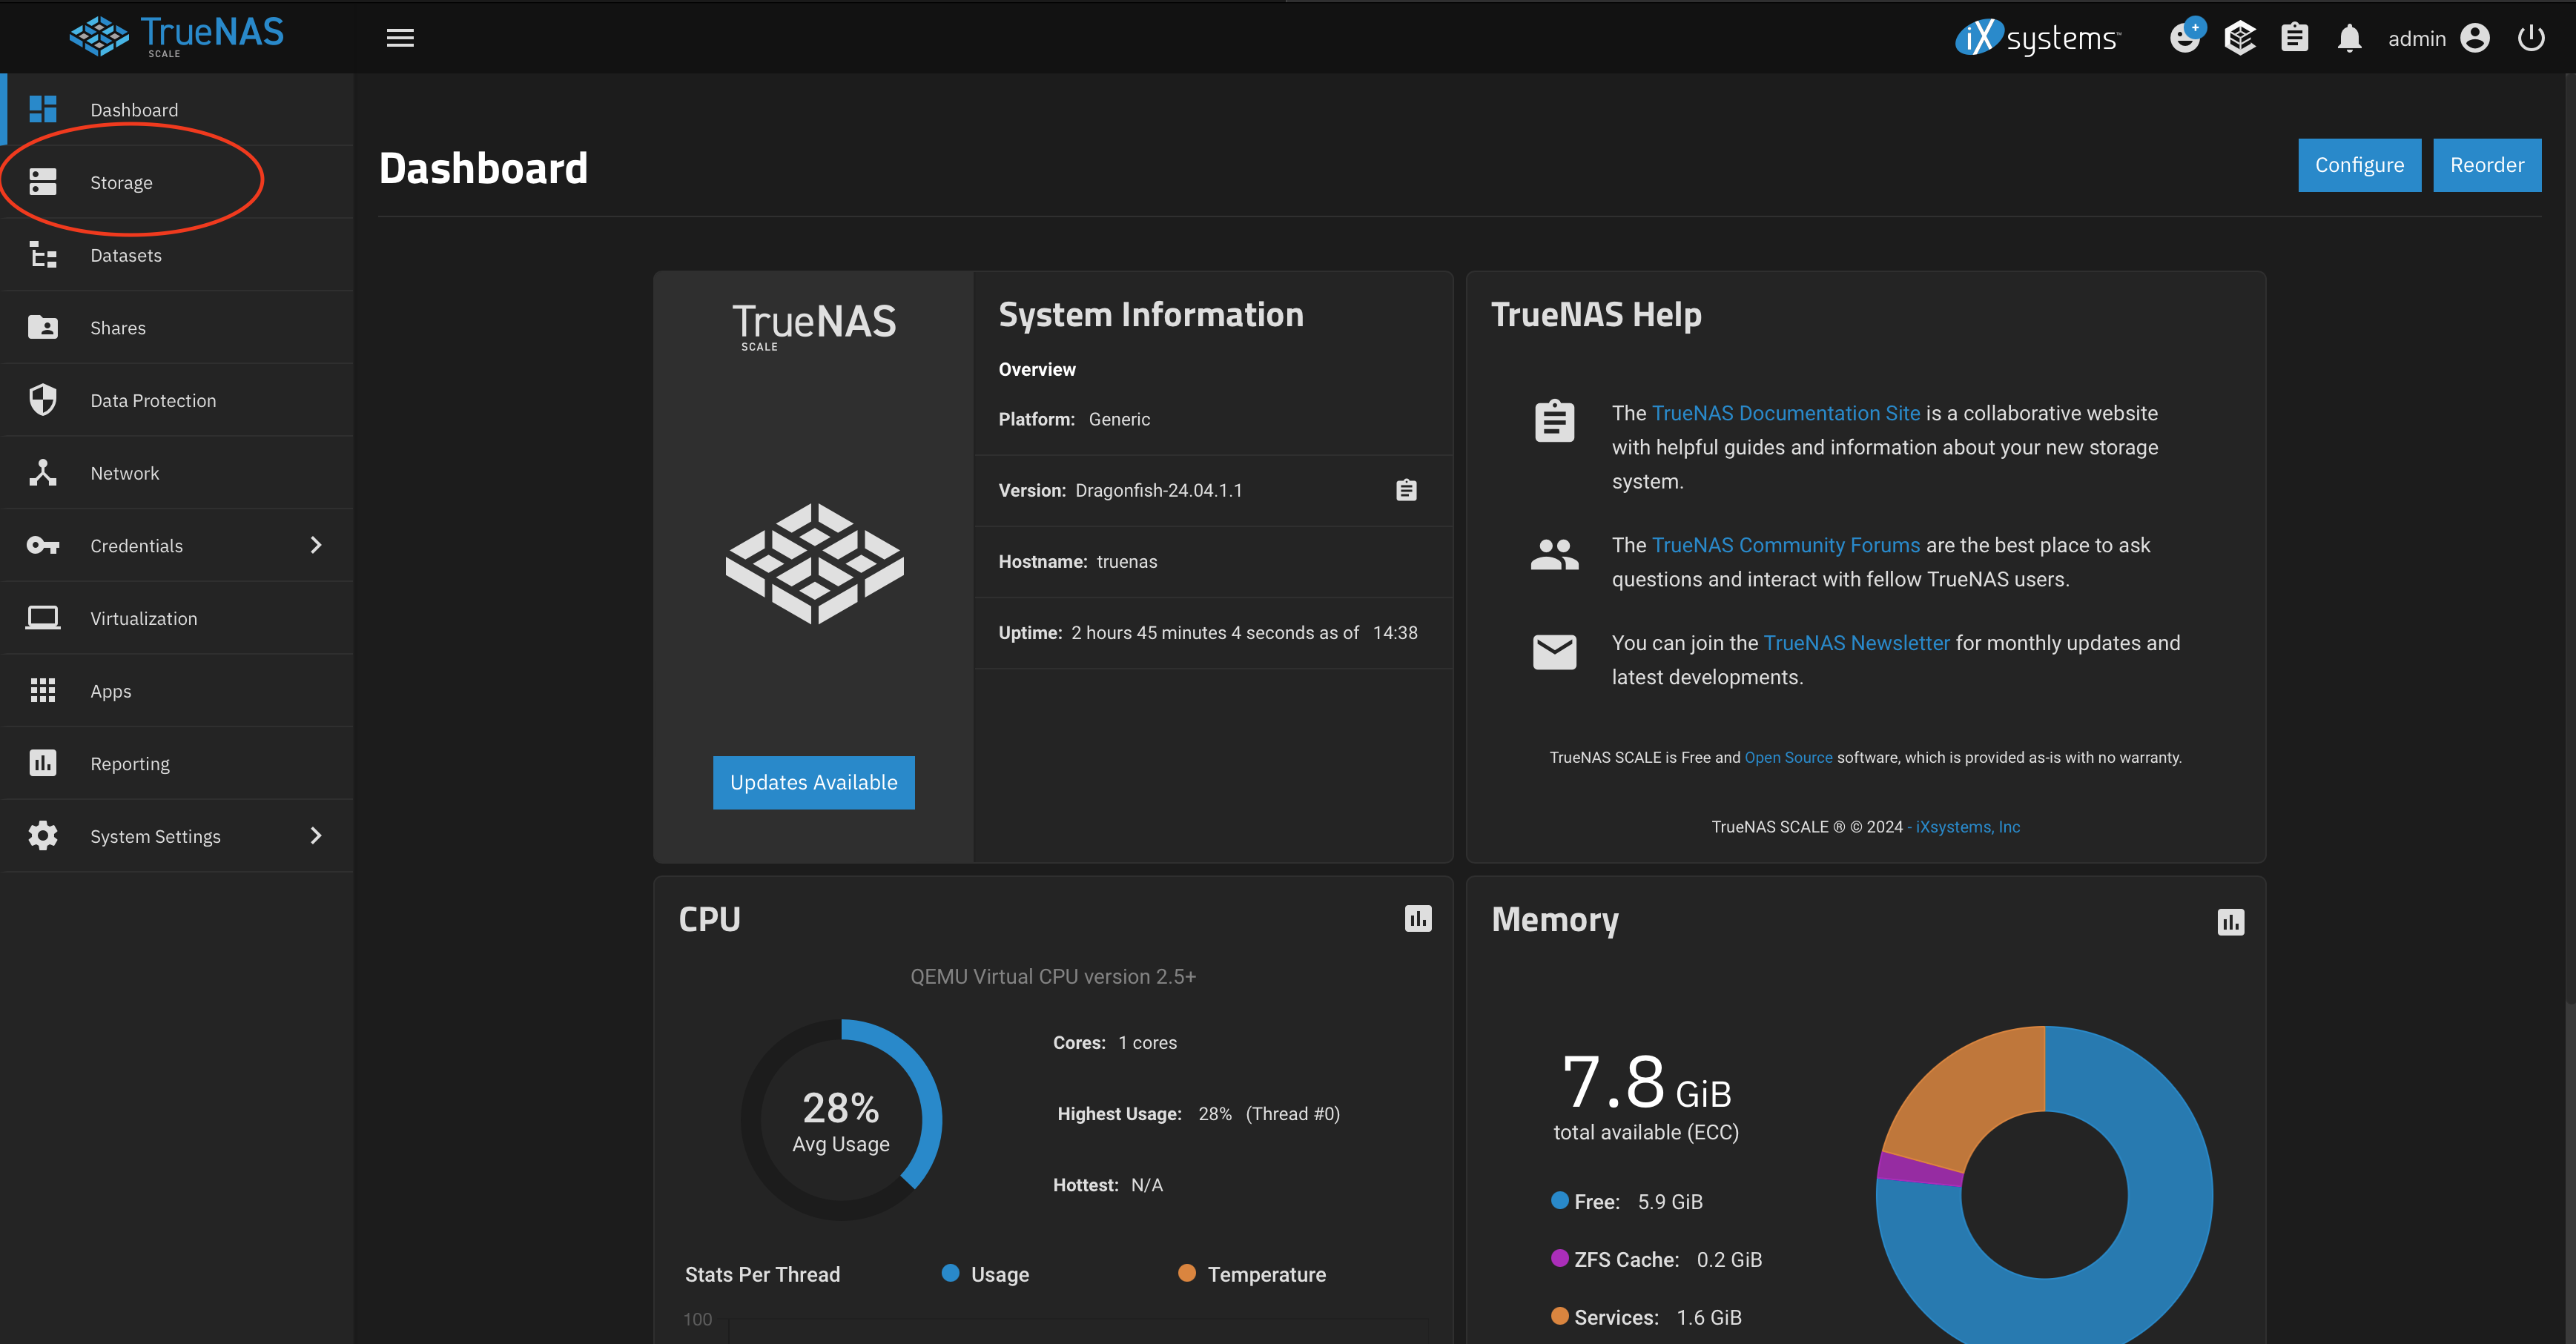
TrueNAS dashboard
Click the tab on the left side called ‘Storage’
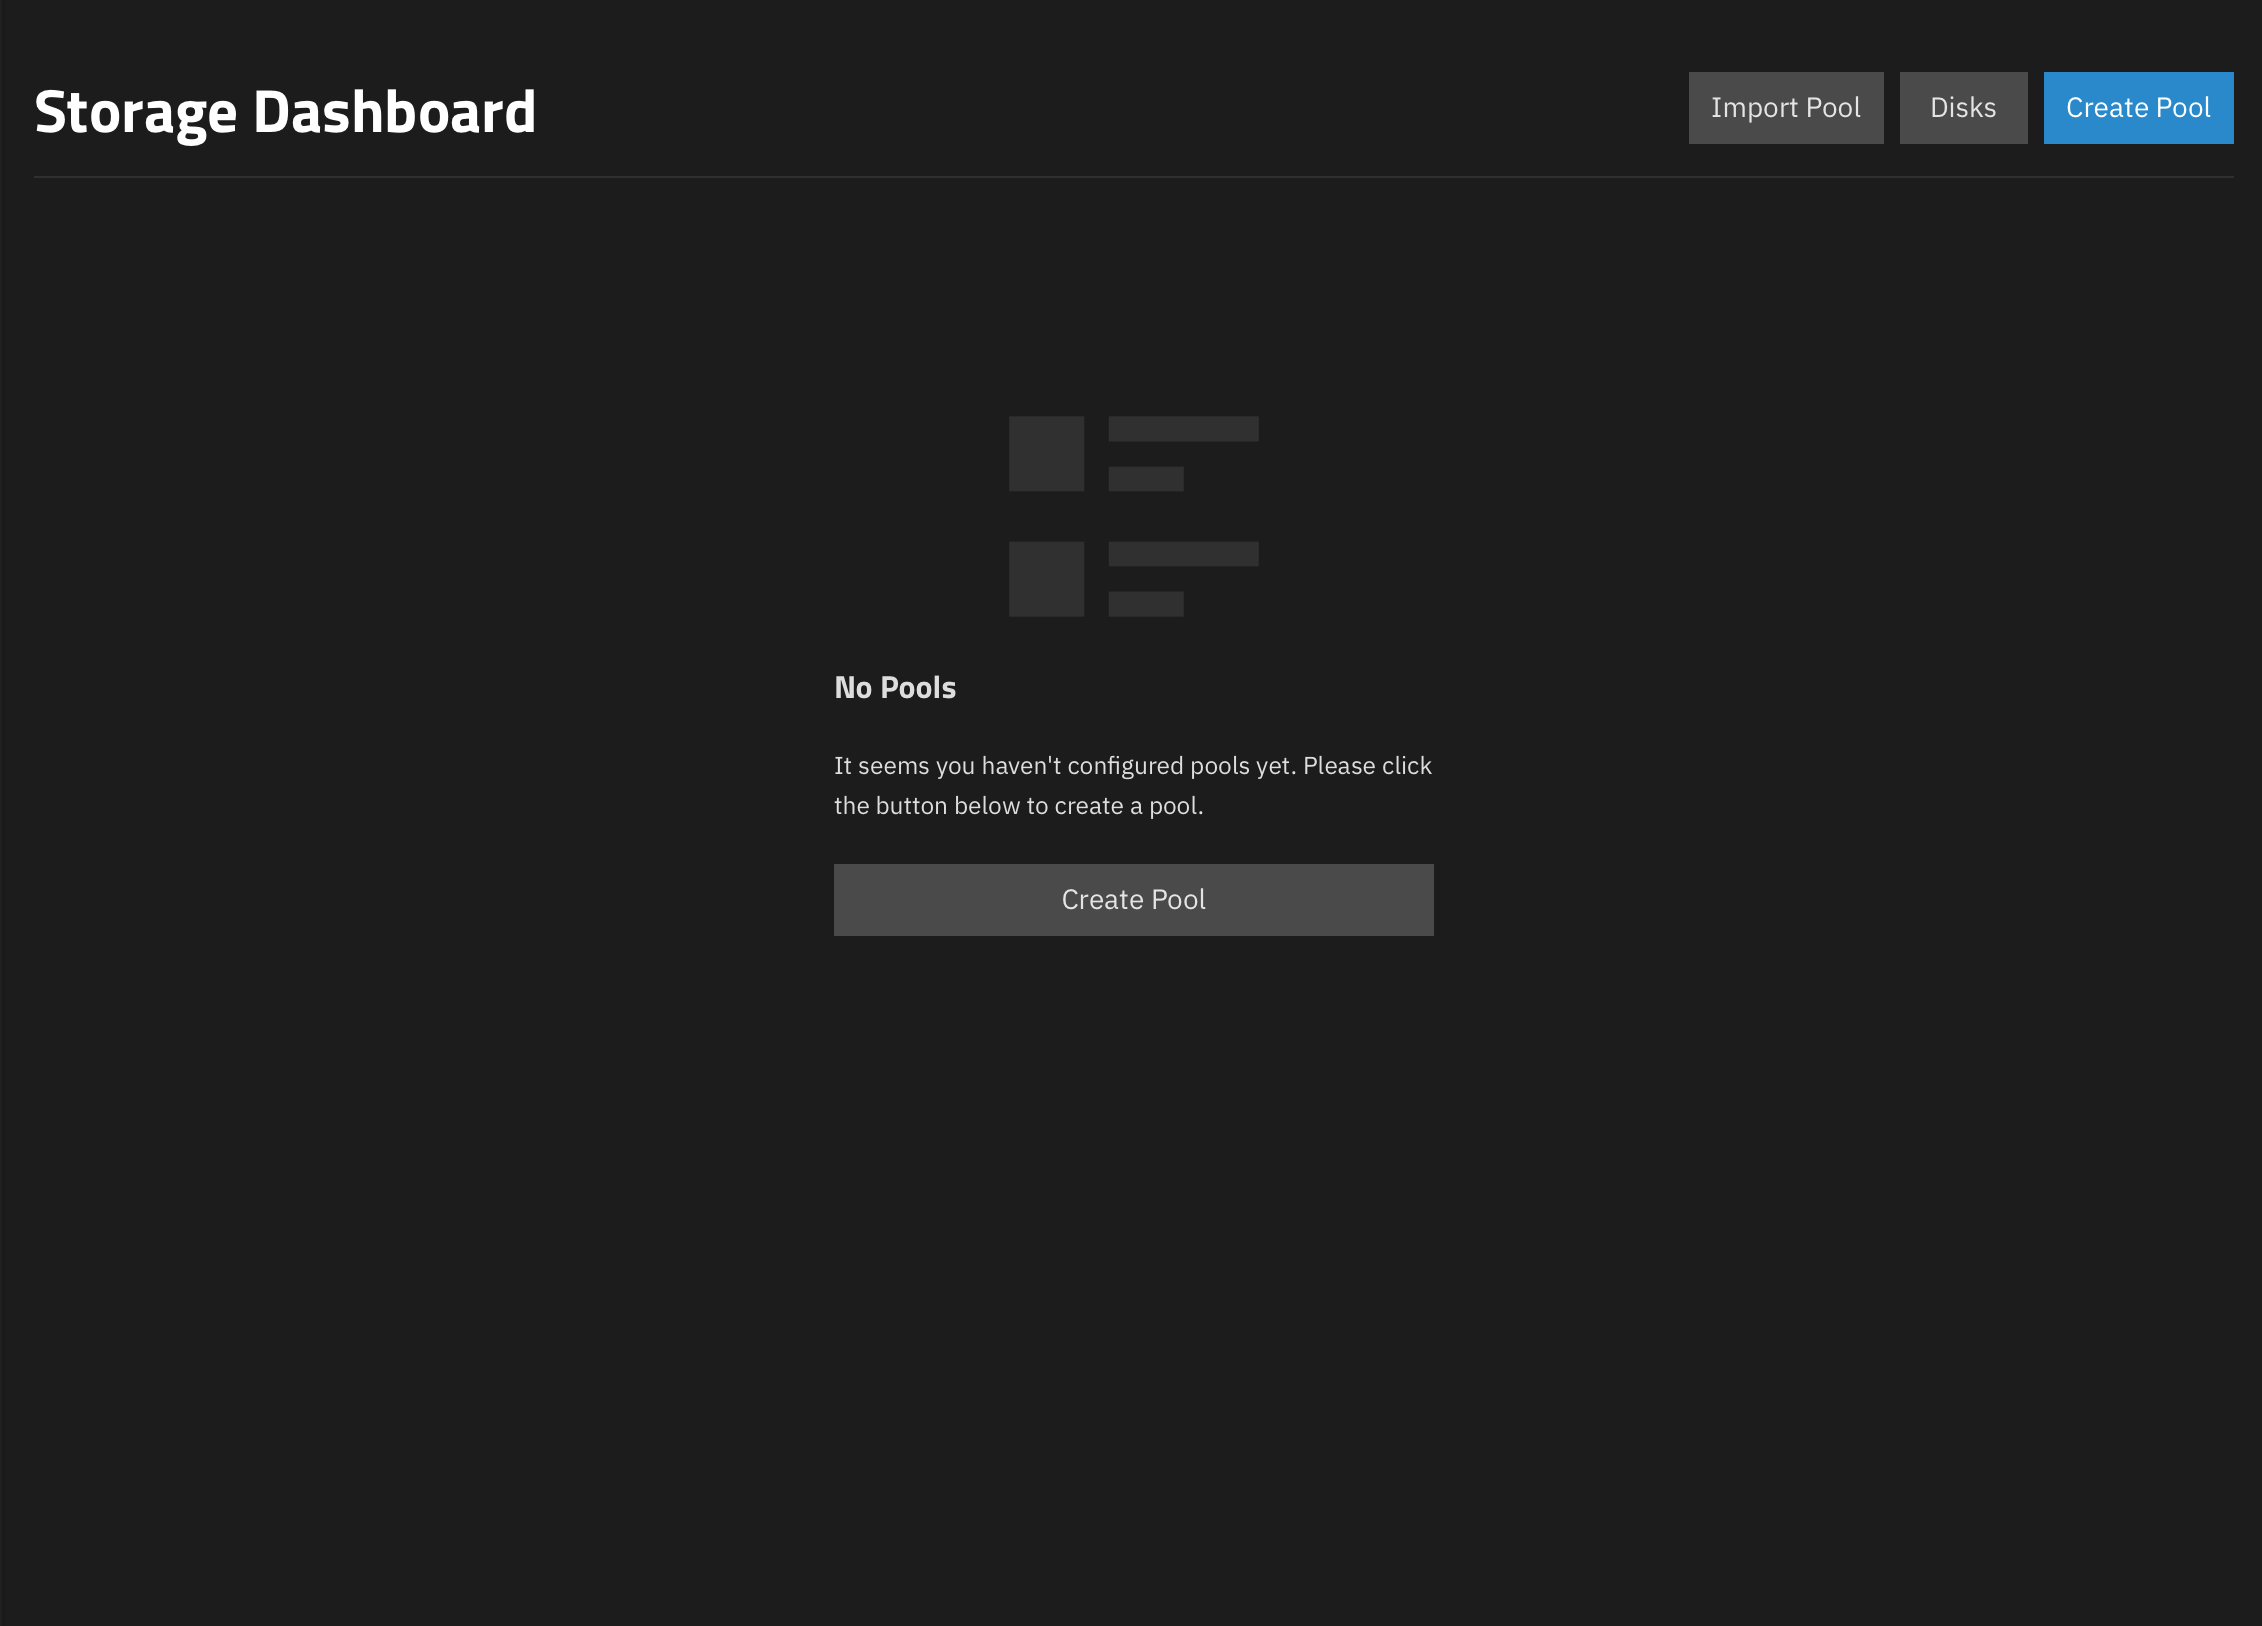
TrueNAS pool creation dialog
What were going to be doing here is creating a storage space that our virtual machine will use part of to host the point of sale software and operating system. The storage space aka ‘pool’ we’ll be creating is going to be backed up redundantly. i.e. Our imaginary 500GB drives will mirror each other. So if we have a case where our hard drive fails we won’t lose our data. TrueNAS makes it very easy to replace a failing drive and or to make backups of our data if we wish.
Your only option at this point is going to be ‘Create Pool’ so do that.
So go ahead and pick a clever name for our storage pool, I have picked ‘RedundantPool’ but feel free to be creative.
On the next screen make sure to pick mirror as the layout type!
TrueNAS automatically picked my 2 empty drives to be used for the ‘RedundantPool’. So we’ll just hit next.
We don’t need a ZFS log device, or a spare device, or a cache, or a metadata or a dedup device.
At the review stage were going to see our disk topology summary as
1 x MIRROR | 2x 500GiB (HDD)
This means we have one virtual disk, made up of 2 mirrored disks.
We’ll commit this to the disks by hitting create pool.
Pool created, it is done. We can see the details on the storage dashboard page.
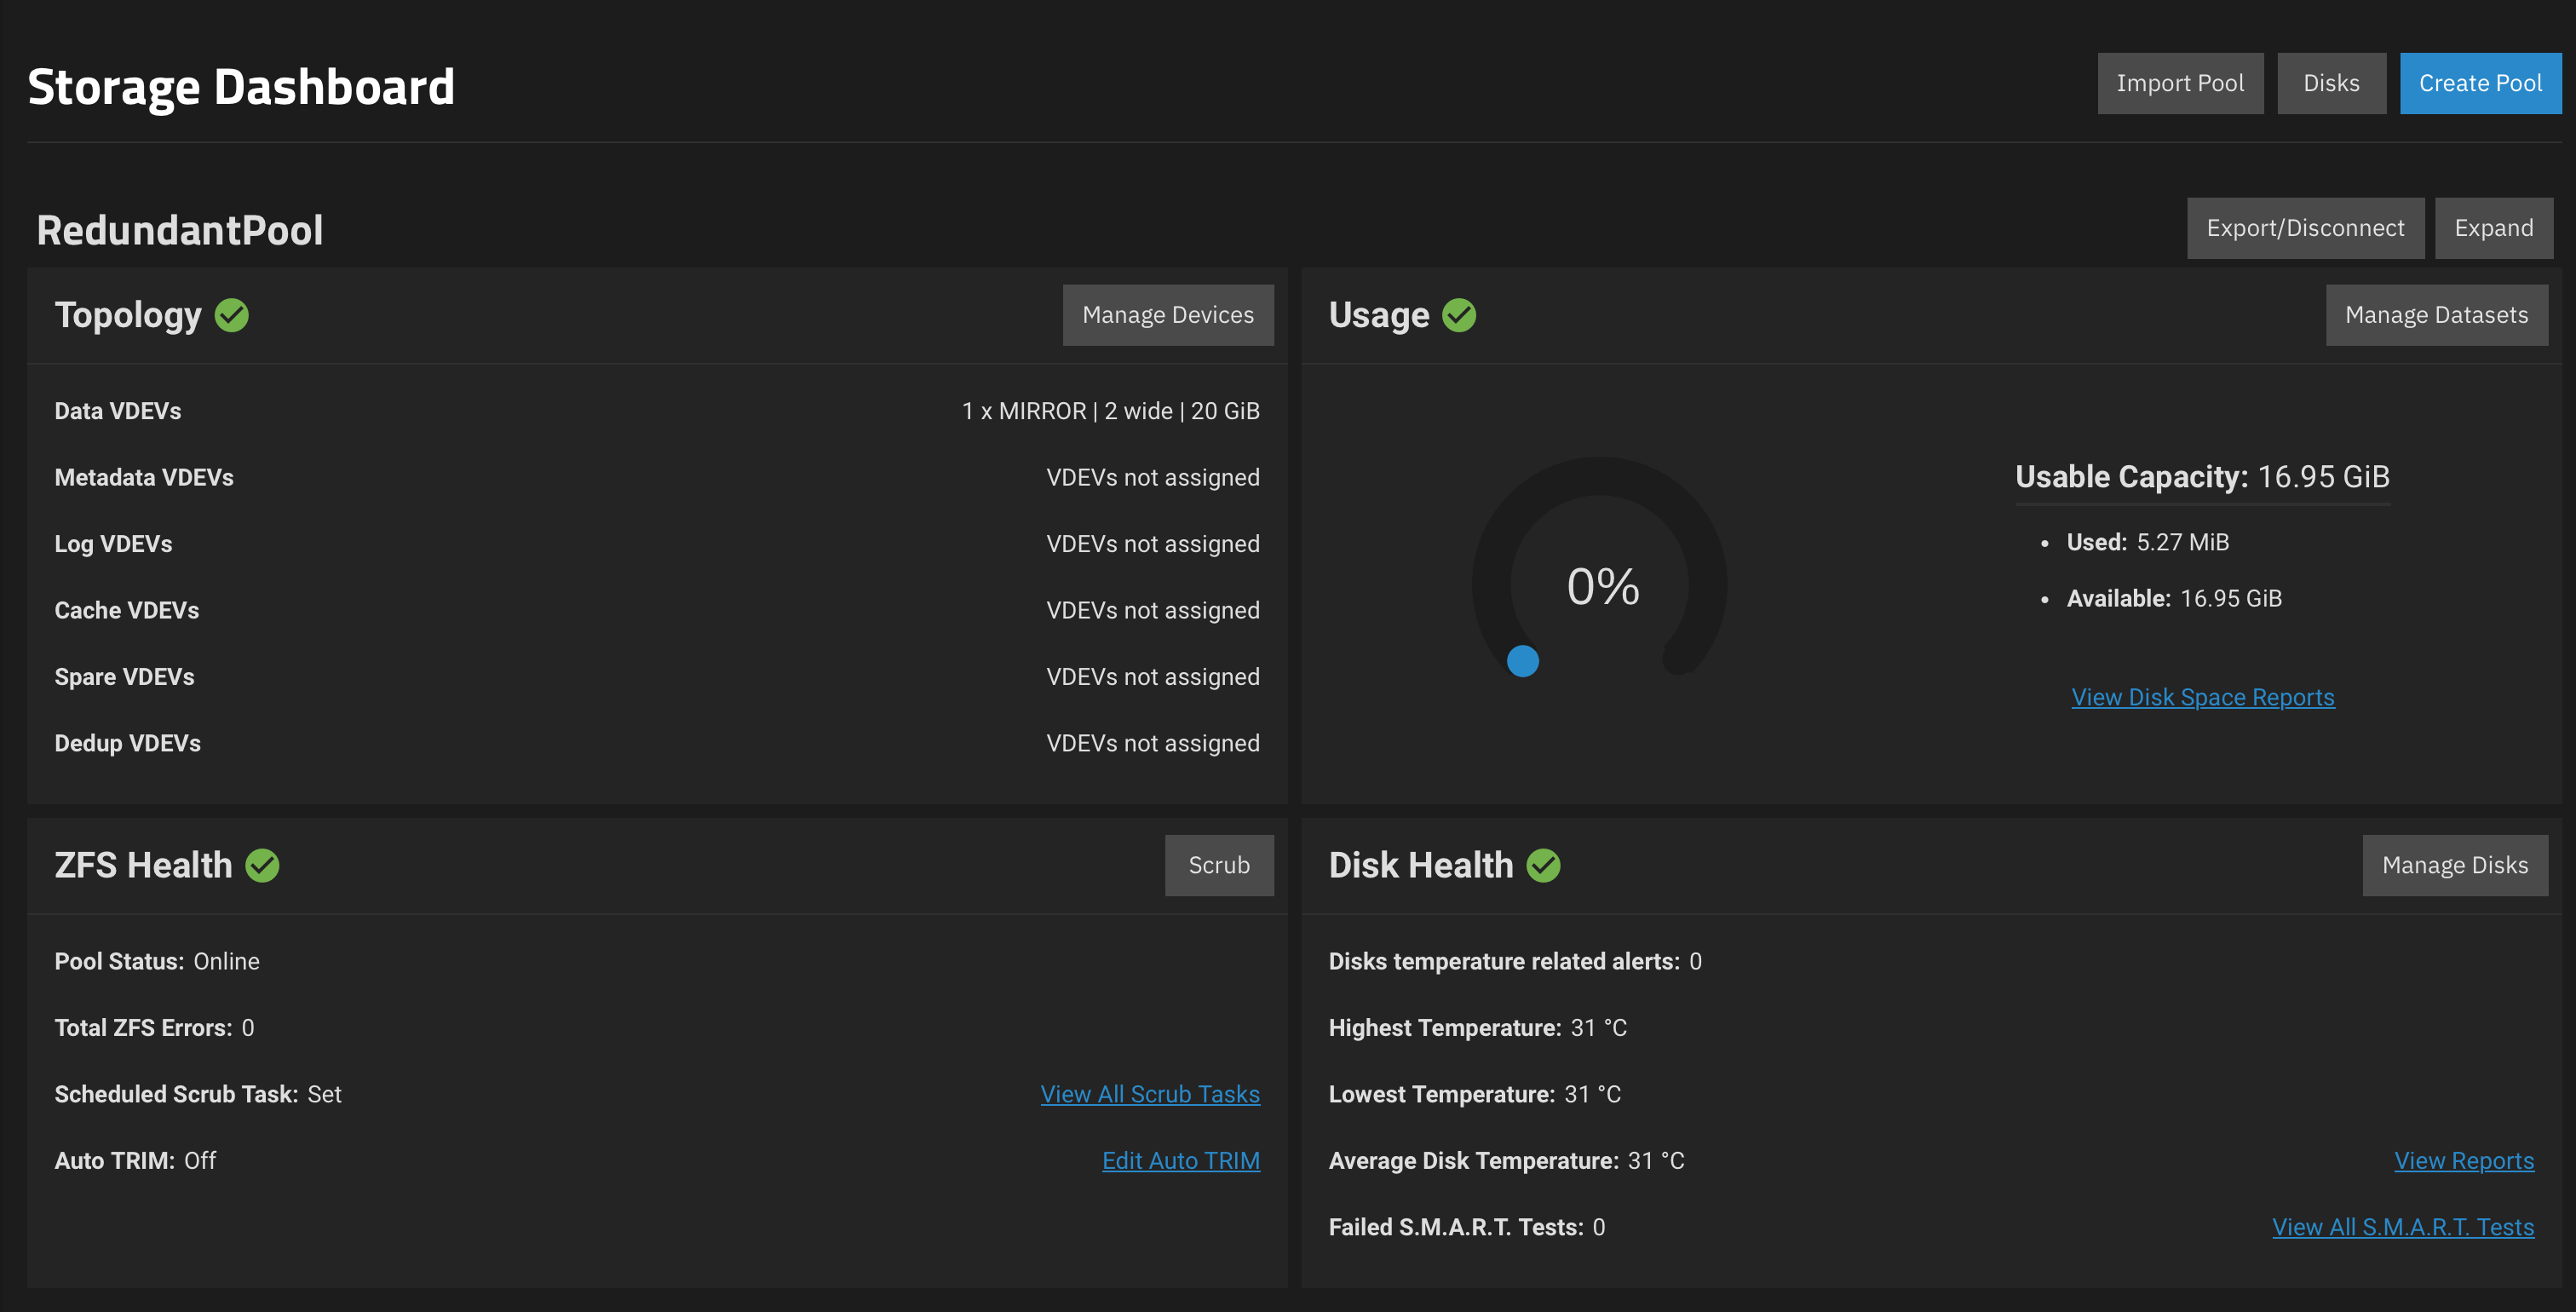
TrueNAS storage dashboard, ignore my capacity im using small virtual disks for this demonstration
Onto Part 4 - Virtual Machine Install + POS Software Installation
>> Home