TrueNAS installation
Ok, we’re ready to go. Lets deploy our stuff.
We’ll pretend we’ve just received an old HP tower workstation i5 right from the local computer reseller. We’ll need a laptop or other computer to write the TrueNAS installer to the USB key.
Download the latest version of TrueNAS Scale from TrueNAS.
Depending on our operating system of choice we can write to the USB key with a variety of software.
If your using Windows;
get Rufus and the rest is pretty self explanatory.
If your using MacOS or Linux;
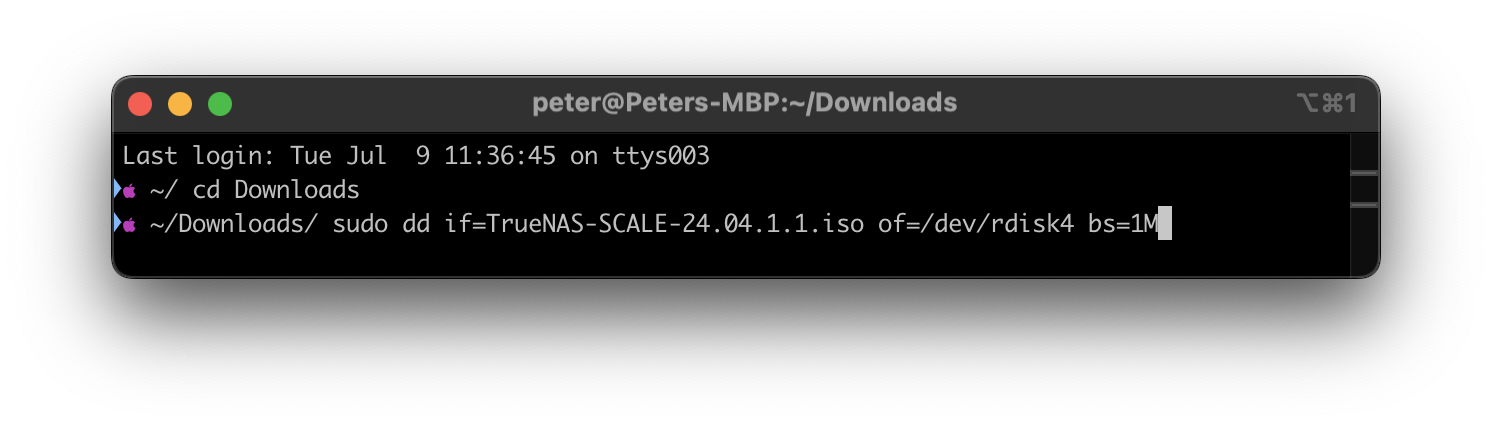
Open a Terminal and use the following command;
sudo dd if=/home/me/sourceFile.iso of=/dev/disk* bs=1M
MacOS users can also use the rdisk devices instead for slightly faster writing.
sudo dd if=/home/me/sourceFile.iso of=/dev/rdisk* bs=1M
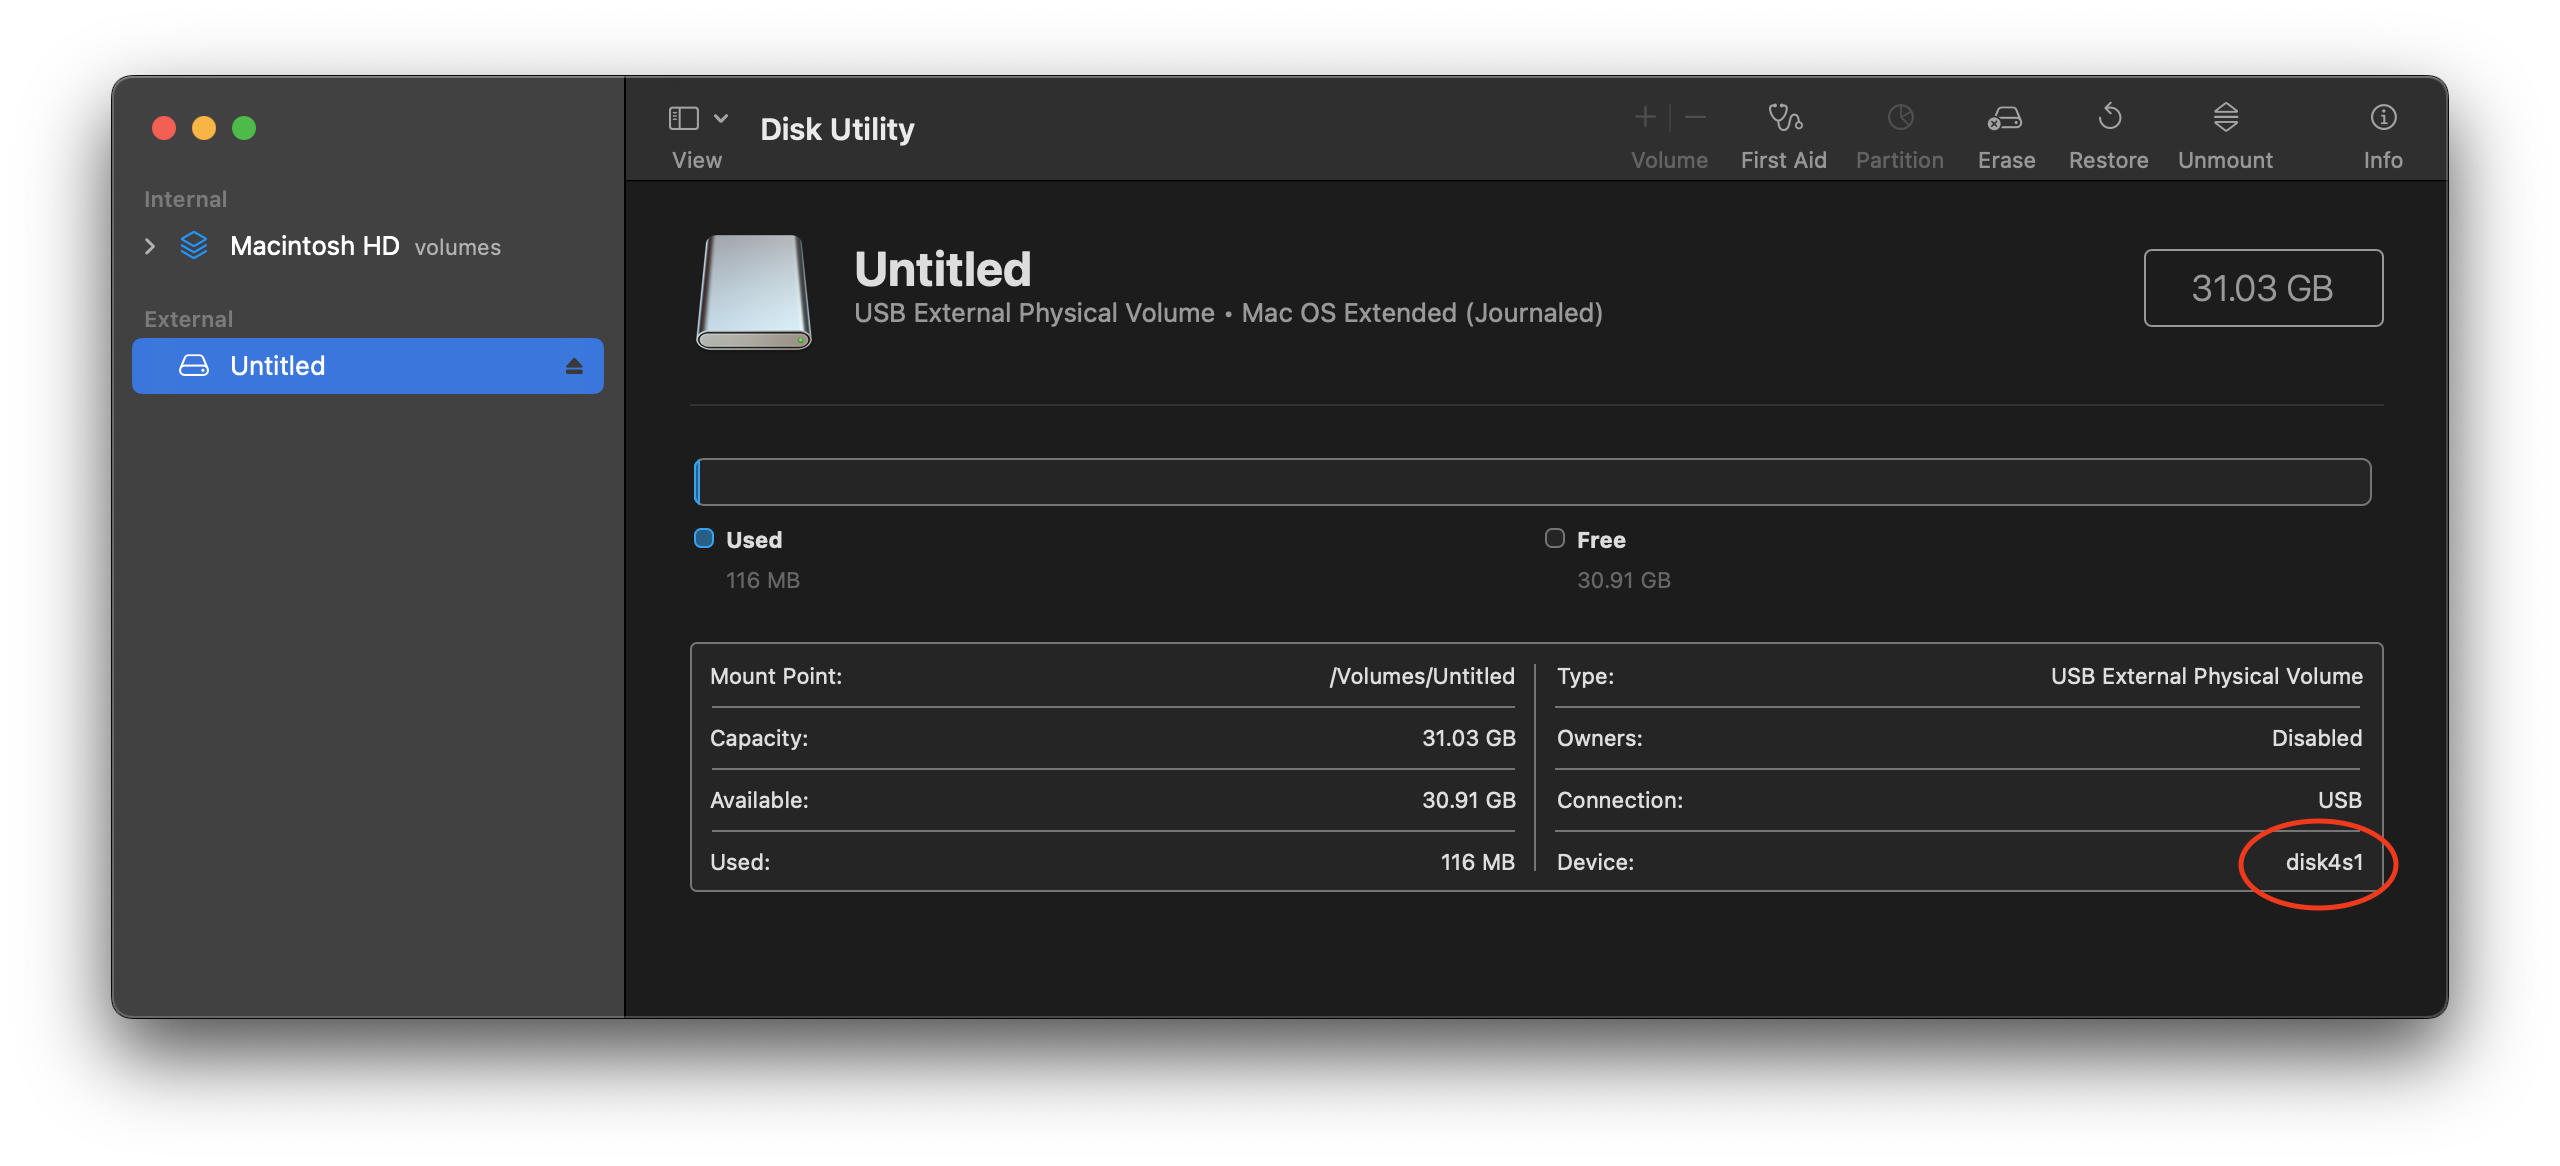
< MacOS Note > If you don’t know the output device you can find it with the DiskUtility.app and finding the mount point for the USB drive, make sure the disk is unmounted. Make sure you strip away the partition number the ‘s1’ in this case and add the ‘r’ to the start, making ‘rdisk4’
< Linux Note > You can
ls /dev/before plugging in your USB key and doing anotherls /dev/after plugging in your USB key and comparing outputs to see which device file is your USB key.
The source file in our case of course being the TrueNAS installer image. Use it in Rufus as the source file, or as your ‘of’ in dd.
Make sure you’ve installed the pair of new drives into the server, if it came with a single drive we can use that too but not for data redundancy.
Boot the server with the USB drive plugged in.
you may have to manually instruct the server to boot from the USB disk in the BIOS / UEFI firmware
The USB disk will boot directly into the TrueNAS installer;
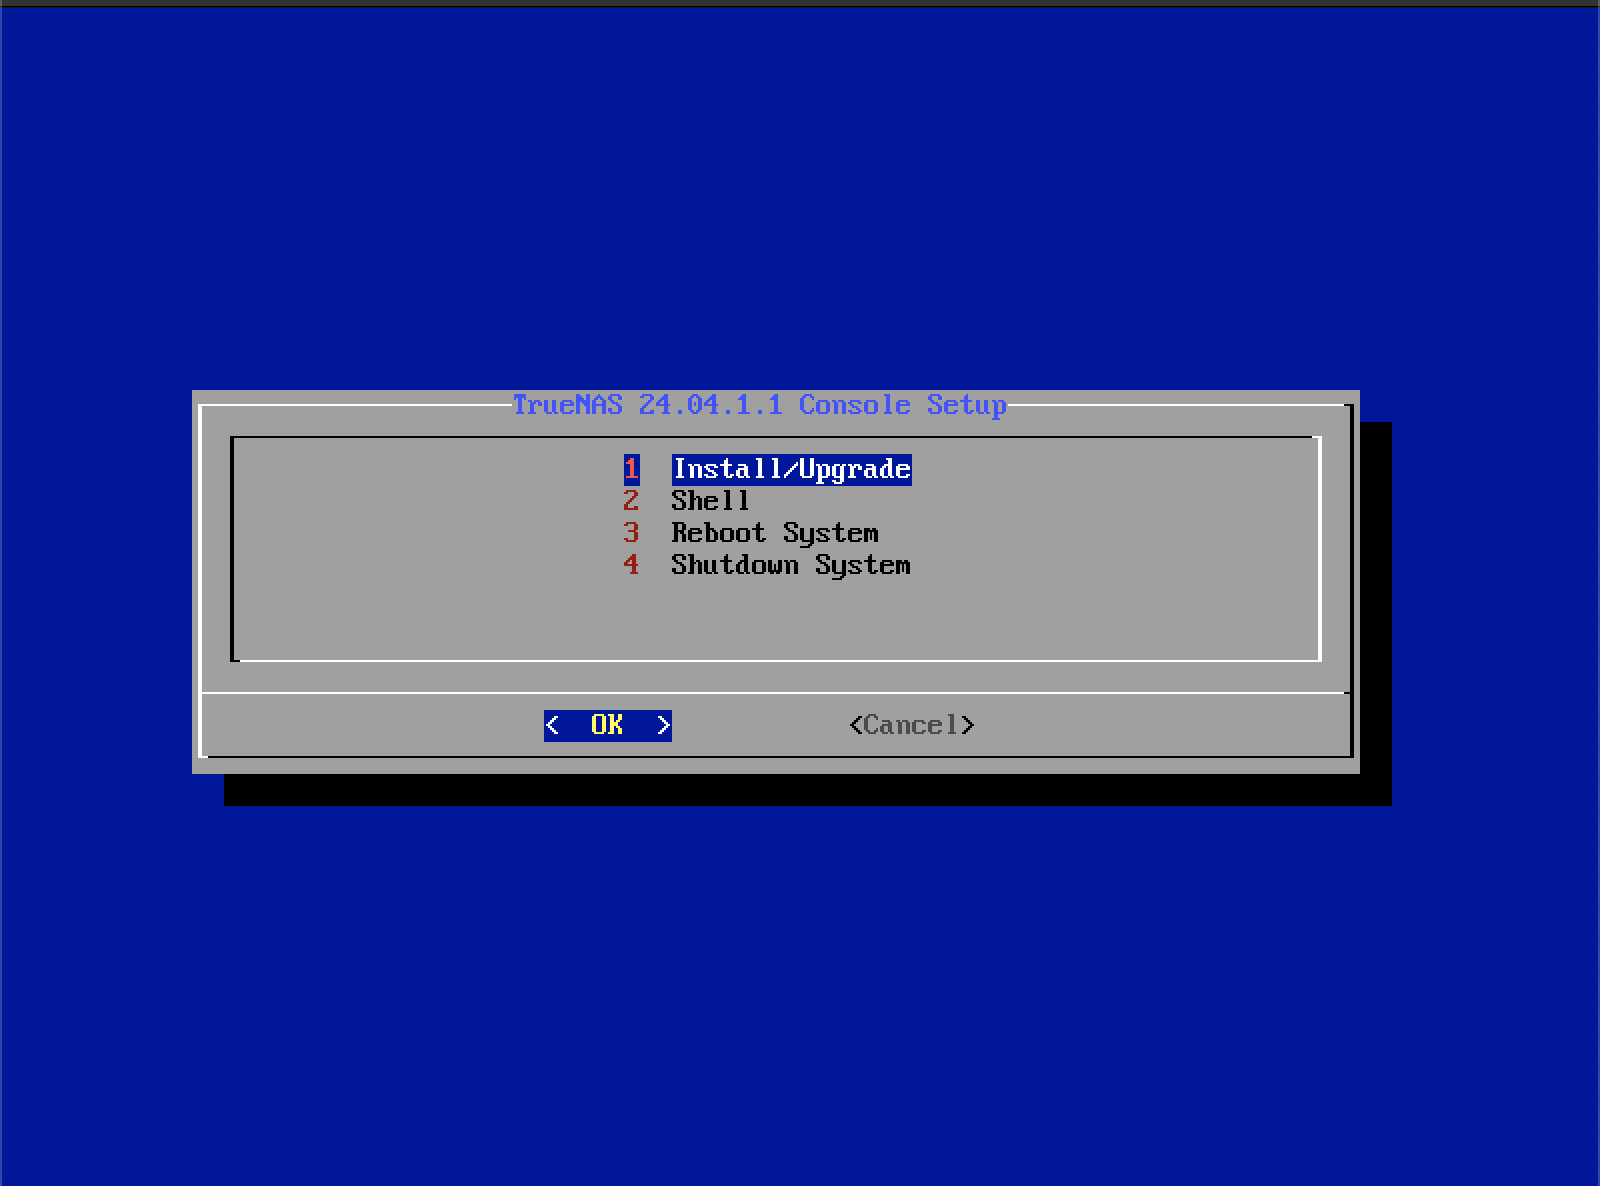
Installer Splash Screen
You can go right ahead and select Install.
In the past, TrueNAS / FreeNAS was happy to run its operating system from the USB key. This is no longer the case. You can run the operating system from a single disk or pair of disks for improved reliability. We’re going to be using a single disk.
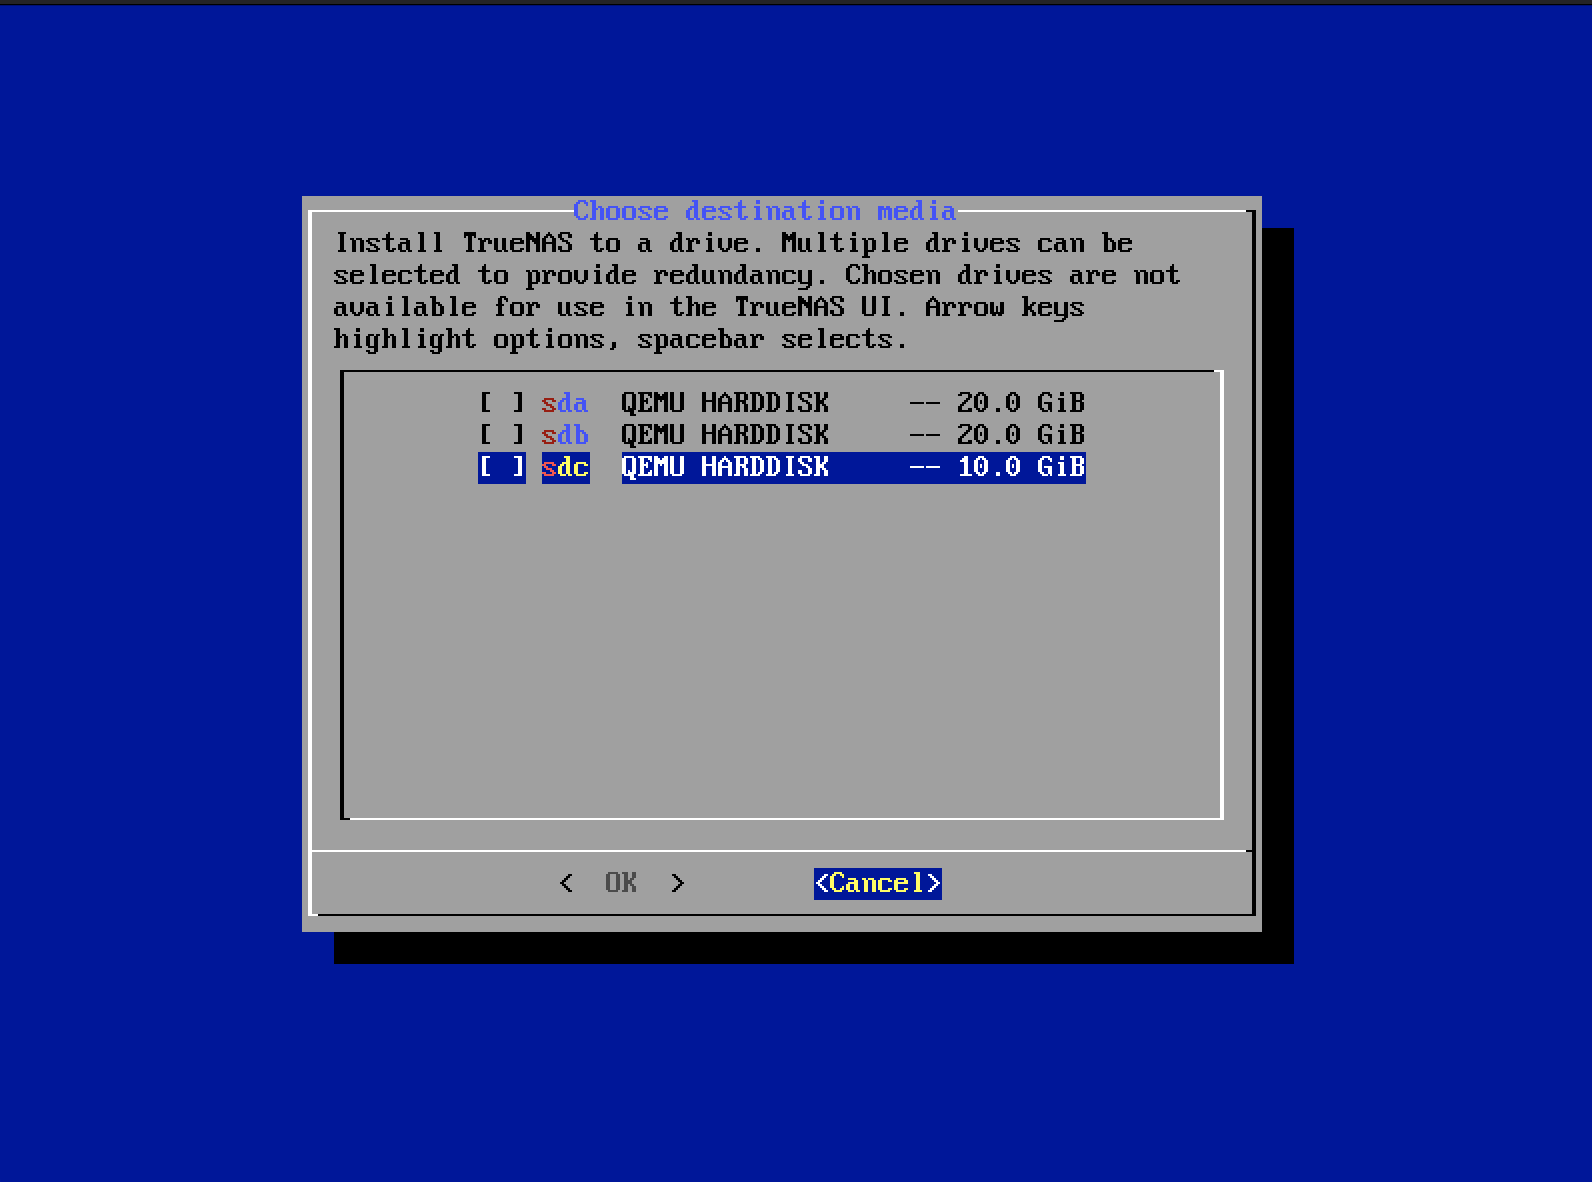
In this example I’m using a VM to capture pictures of the process, in a typical installation you’ll have at least a pair of large capacity disks and a smaller disk for the operating system. Just pretend the 20GB pair is actually 500GB.
Here we’re going to select which disk to install to, in our example, to the 10GB disk.
The installer will prompt us to decide what type of security arrangement we want, just pick the default and set a strong administrative password.
The installer is going to extract itself to the selected disk, when finished will bring you back to the installer splash screen. From here you can select reboot system, and remove the USB key while the system is down.
Before the first POST completes ensure your BIOS / UEFI firmware is set to boot from the disk we installed TrueNAS on.
We now boot from the install disk, select TrueNAS in the bootloader and wait for the first boot to complete. This takes longer than normal because its the first one.
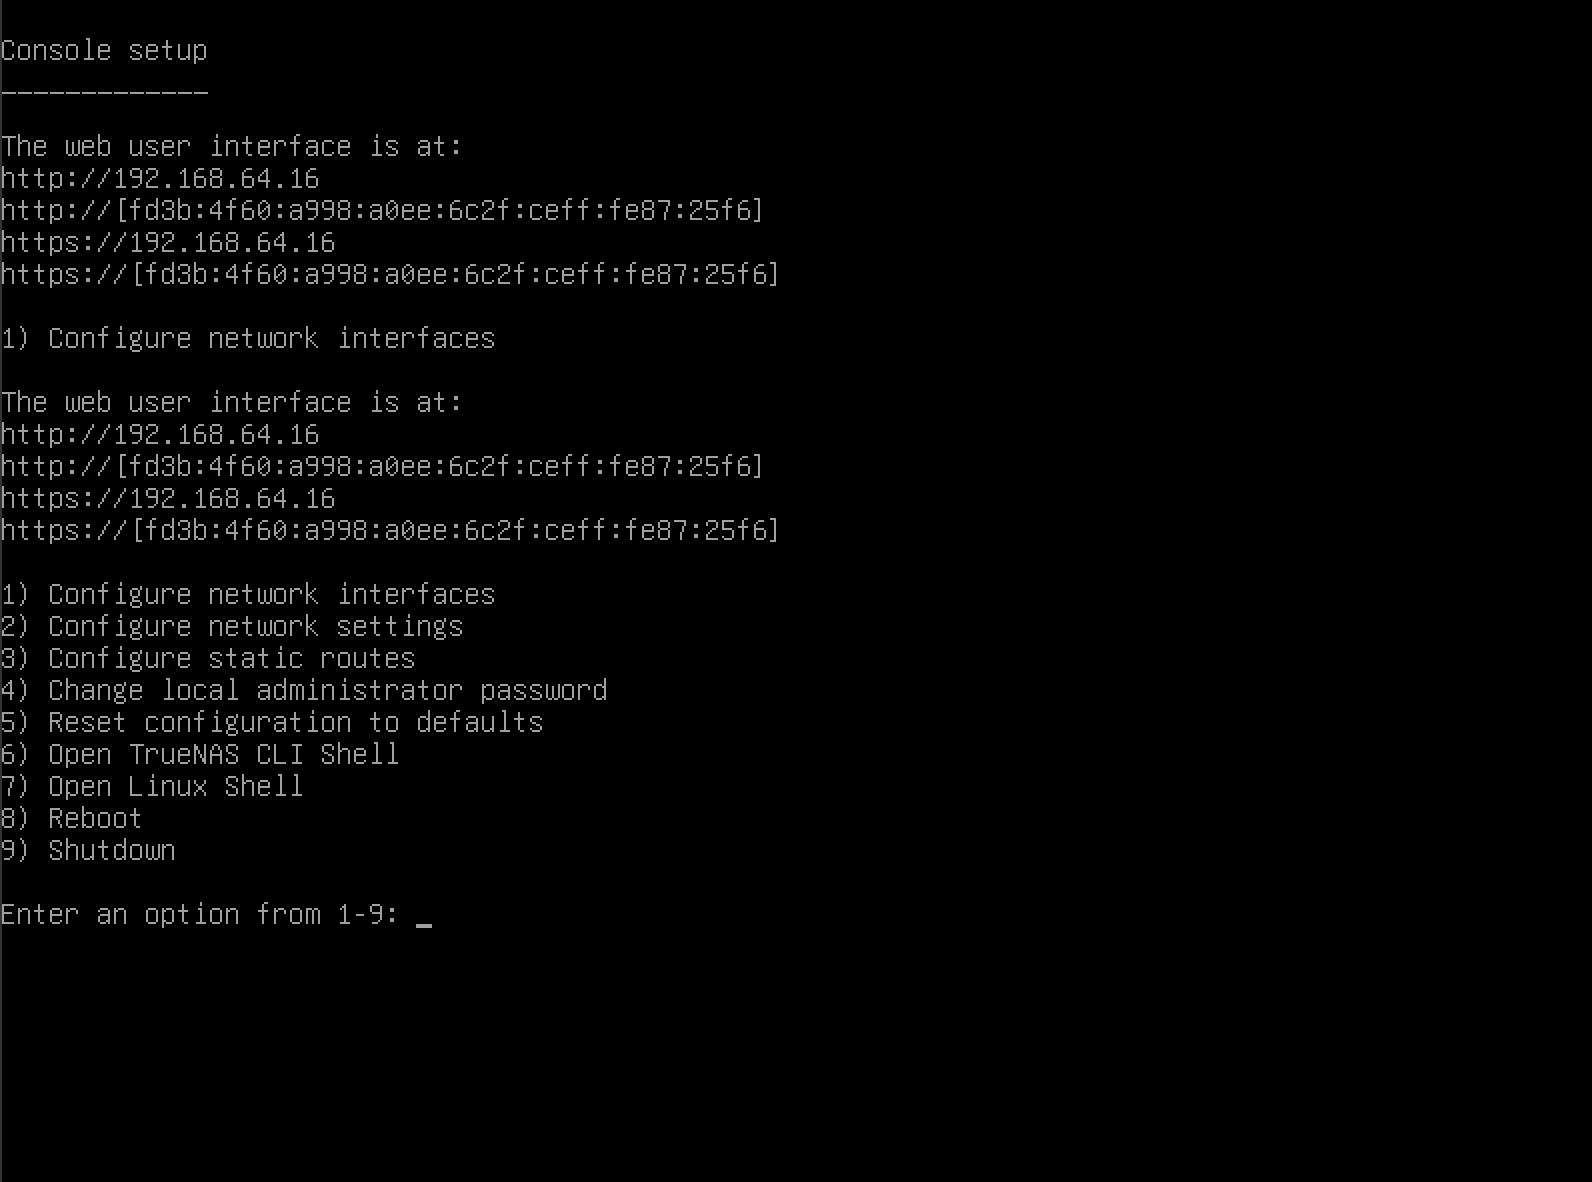
TrueNAS menu after booting up
If you got here, looks like TrueNAS is installed and running. You typically don’t need to interact physically with the server after this point.
Take note of the web interface address, this is how your going to interact with the server from here on out. In this case we see the web interface is at http://192.168.64.16 / https://192.168.64.16, your ip address is likely going to be 192.168.1.* , or 10.0.1.* if you are using Apple network hardware.
IF you want to manually set your ip address you can using either the TrueNAS menu to set a static ip or your router’s DHCP configuration menu.
TrueNAS is installed! We’re ready to configure it.
Onto Part 3 - Setup TrueNAS server
>> Home